
Exceeding Expectations
The Home Building Process
Ever wonder how to build a home? Come along with us through the construction of a home that we built for one of Wisconsin's most sought after home builders. B & J Construction Services participated in both the rough and finish carpentry of this beautiful property. Contact us for your next carpentry project or call our carpentry references, trusted home builders in our area. We will exceed your expectations.
| Click on any image below for a larger version. | Obtain proper local and community approvals for drainage plans, building plans and landscape plans. | |
| Apply for building permits. | ||
| 07-14-07 |
|
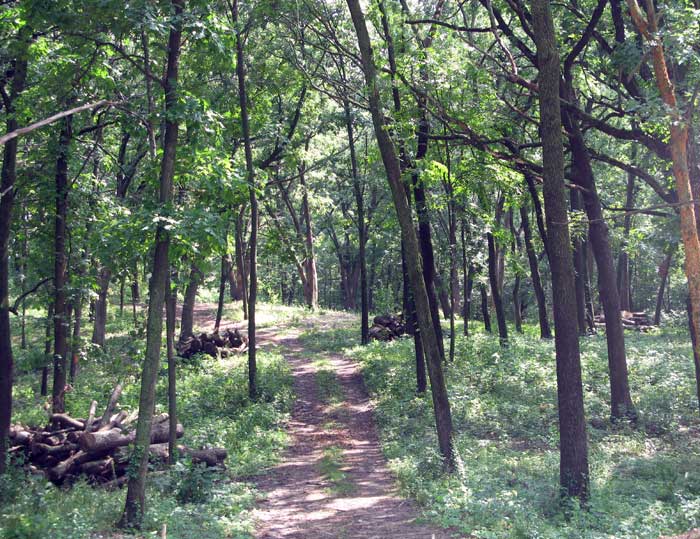
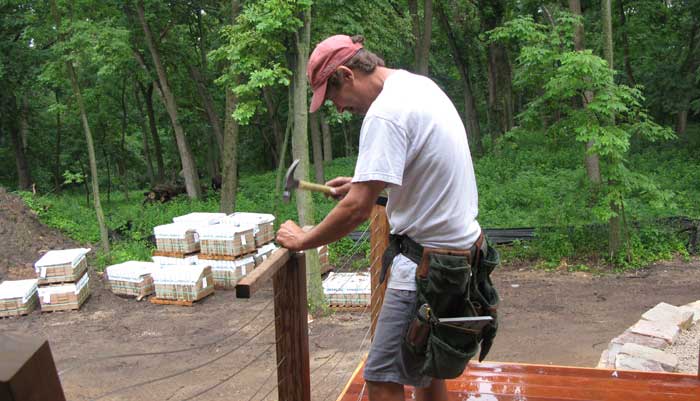
Select and clear trees for the building site, |
| 7-24-07 |
|
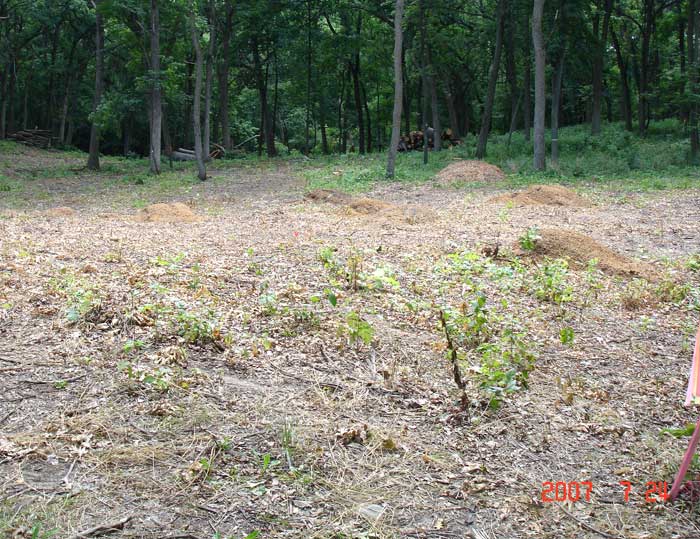
Lot is cleared. Trees removed. Stumps ground out. |
| 7-29-07 |
|
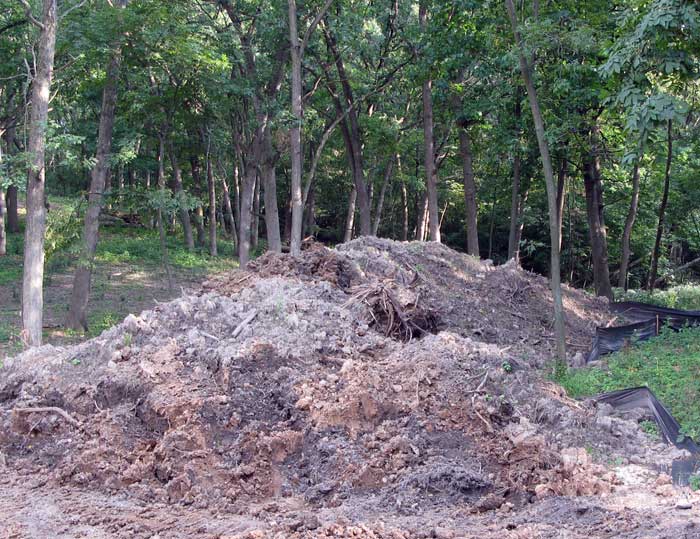
Top soil is scraped and set aside for final landscaping - a Green Built Home Practice � |
| 8-3-07 |
|
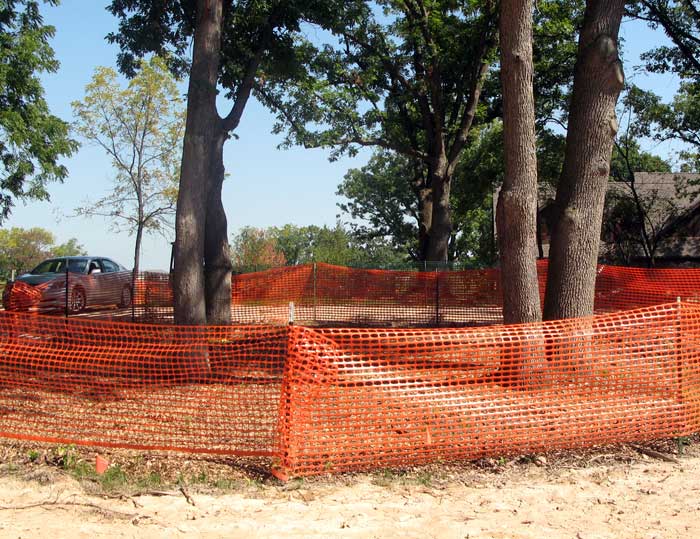
Preparing the building site according to Green Guidelines. Demarcate limits of clearing and grading. Create construction "no disturbance" zones using fencing or flagging to protect vegetation and sensitive areas from construction vehicles, material storage, and washout. |
| 8-4-07 | 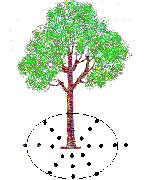 |
An arborist is engaged to conduct deep root fertilization to protect trees near the building site. Deep root fertilization is a process where a high quality nutrient solution is injected into the root zone of trees. The materials are injected into the root zone under pressure which helps aerate or provide much needed oxygen to the root system. The soil injection begins just below the surface and goes to a depth of 12 - 4 inches. |
| 8-5-07 |
|
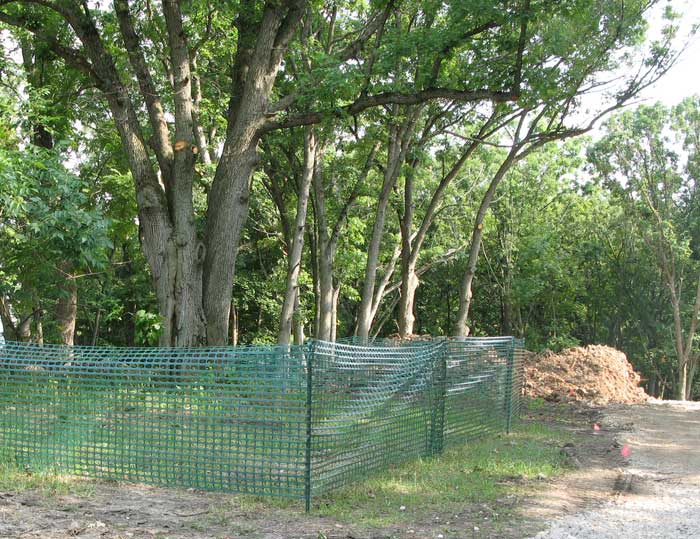
Minimize disturbance of and damage to trees and other vegetation designated for protection through installation of fencing and avoidance of trenching, significant changes in grade, and compaction of soil and critical root zones. Prepare designated existing trees and vegetation for the impacts of construction through pruning, root pruning, fertilizing, and watering. Fence off trees to prevent the weight of building crew trucks from damaging the existing root systems, a Green Built Home Practice |
| 8-5-07 |
|
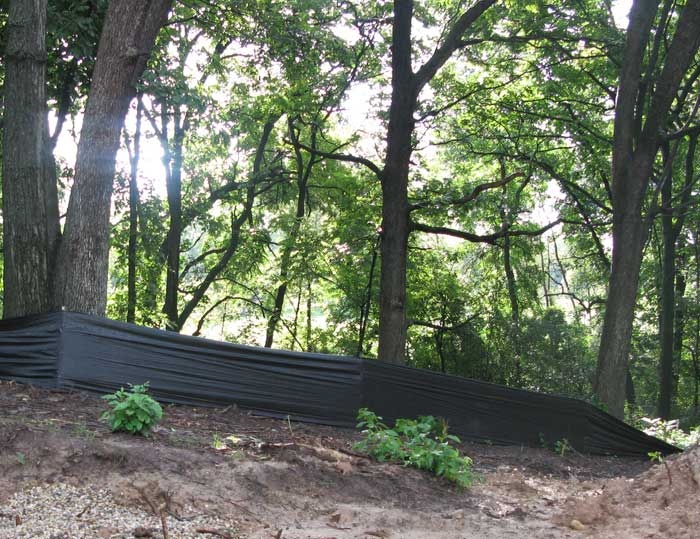
Install and maintain sediment and erosion controls, a Green Built Home Practice � |
| 8-6-07 |
|
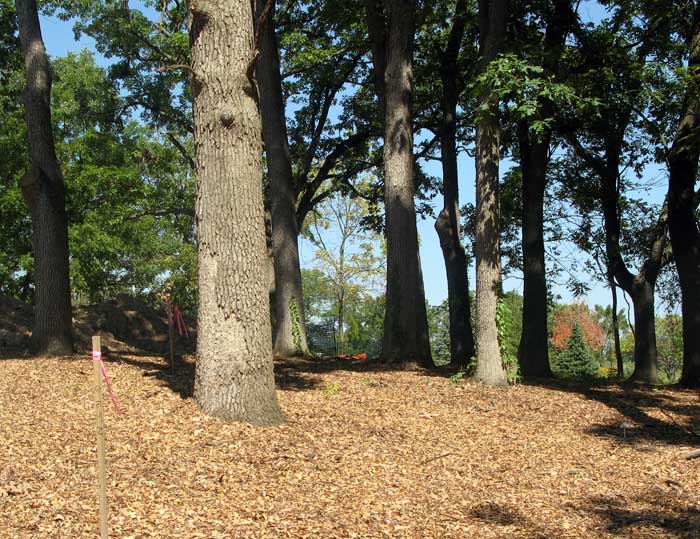
Reduce soil compaction from construction equipment by laying mulch, chipped wood, or plywood sheets. We use chips from the building's site ground up limbs and stumps to further protect adjacent trees, a Green Built Home Practice � |
| 8-9-07 |

|
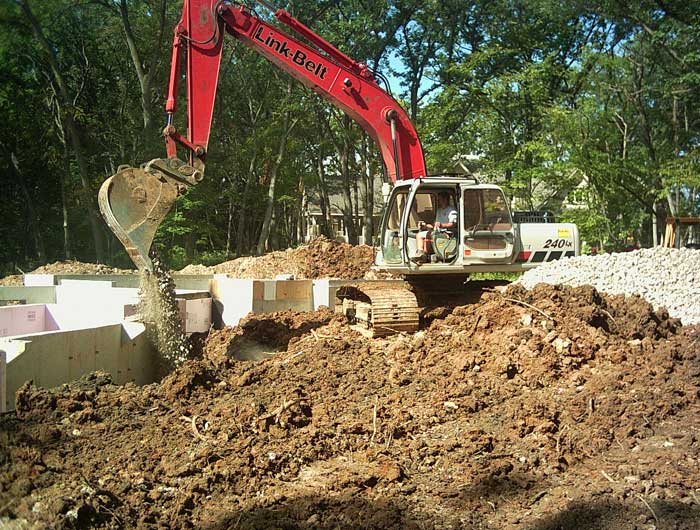
Excavation |
| 8-10-07 |
|
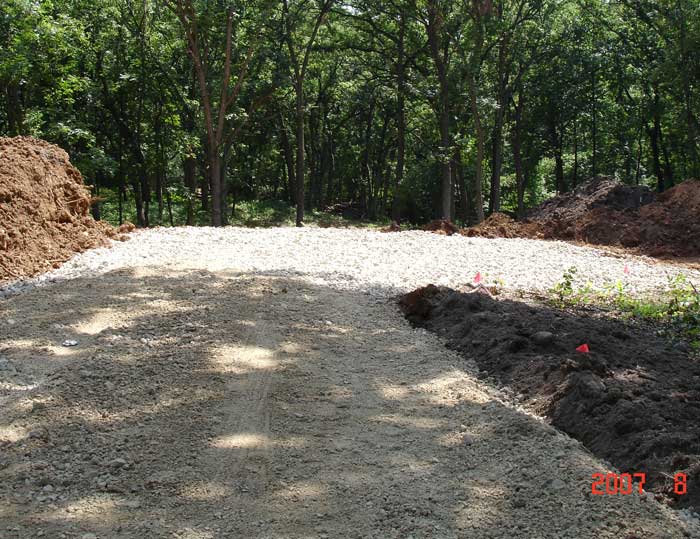
Lay gravel base to support construction traffic. |
| 8-10-07 |

|
Install track pad. Cut the base in the site of the final driveway - lay with track pad to reduce the tracking of mud onto local street be construction crew vehicles - a "nice neighbor" practice. |
| 8-12-07 |

|
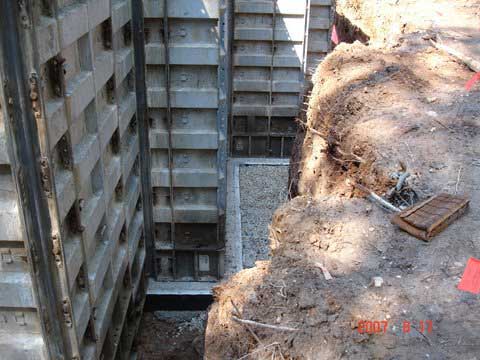
Pour footings. Install form-a-drain-system. Form A Drain is a patented, all-in-one, stay in place, system that forms the foundation footing, provides drainage and can be adapted to provide a sub-slab radon reduction system. In addition to providing a superior footing, Form A Drain creates an ideal drainage system, one that is parallel to the footing and below the foundation wall. |
| 8-15-07 |
|
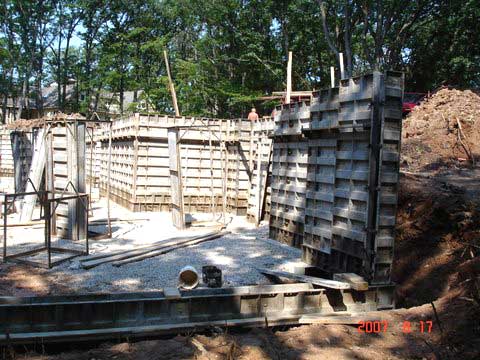
Basement walls set up for pouring. |
| 8-17-07 |
|
Wall set up continues |
| 8-15-07 |

|
Frost walls installed. |
| 8-15-07 |
|
Form A Drain system installed along with foundation. |
| 8-16-07 |

|
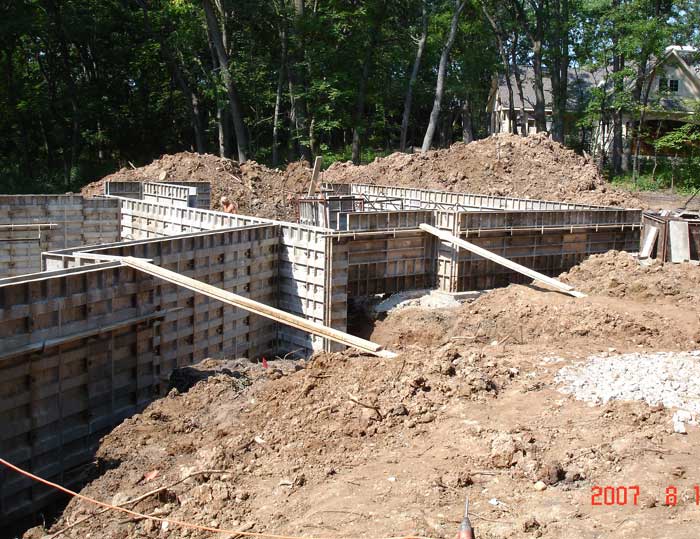
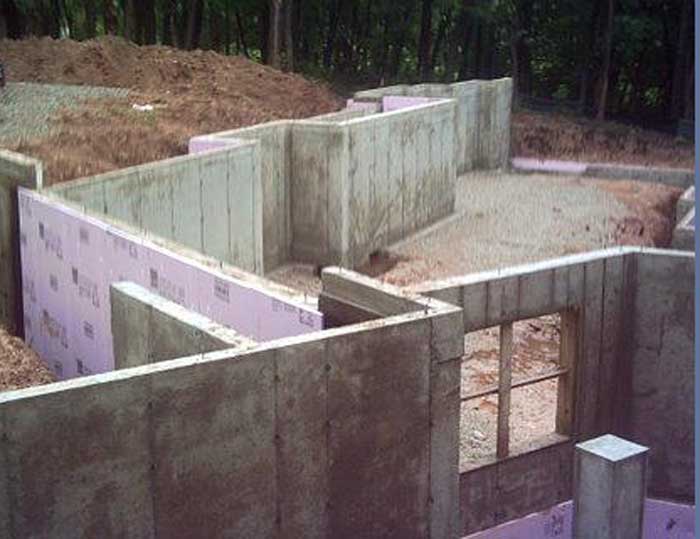
Begin pouring foundation walls. Continuous (stem wall) foundations are constructed poured concrete, supported by a continuous, reinforced-concrete spread footing. |
| 8-17-07 |
|
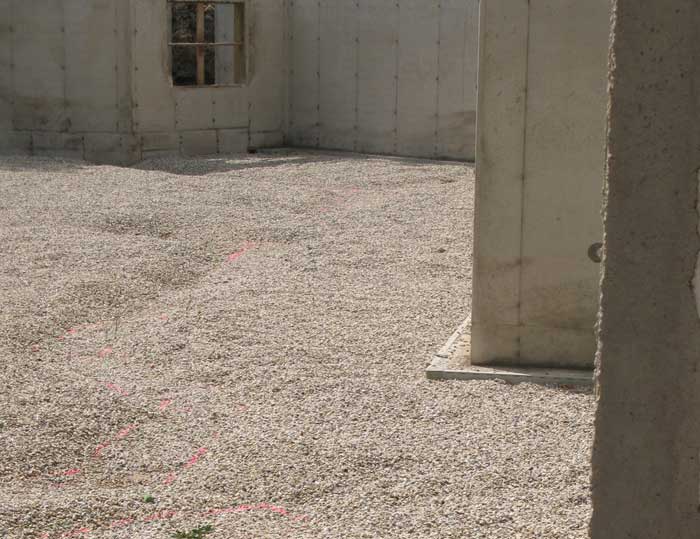
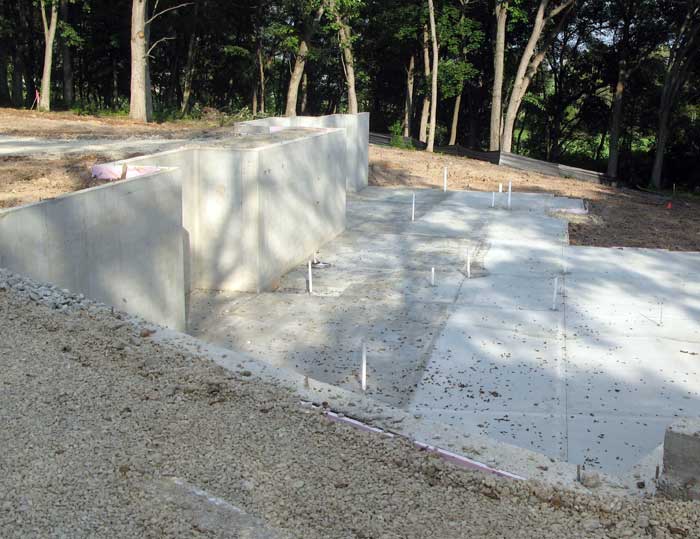
Foundation walls complete. |
| 8-7-07 |
|
Supports for future air conditioning units are installed. |
| 8-21-07 |
|
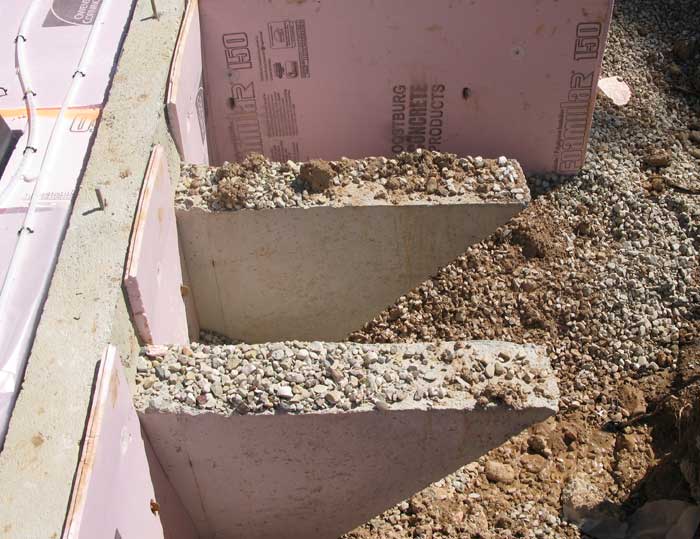
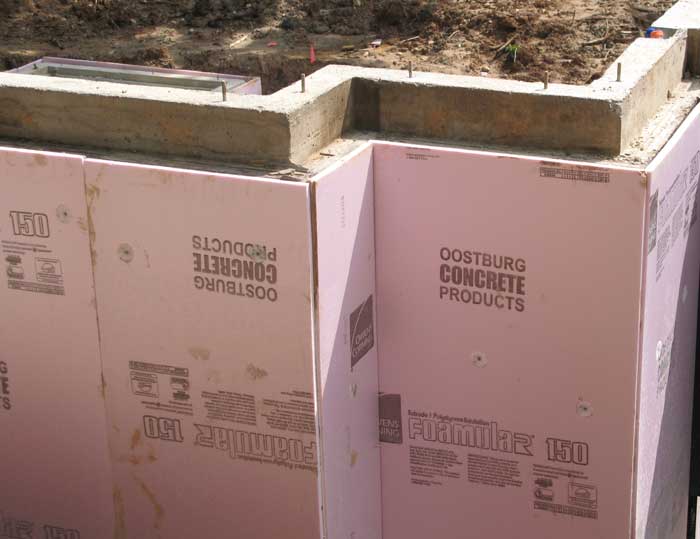
Insulate exterior foundation walls. |
| 8-22-07 |
|
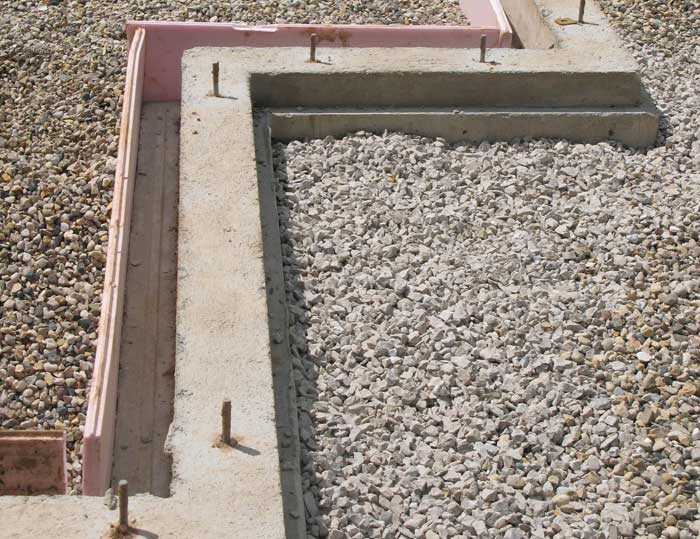
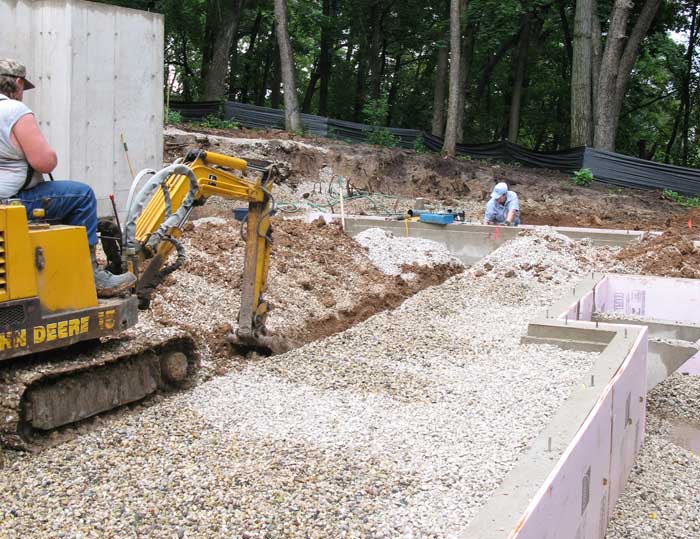
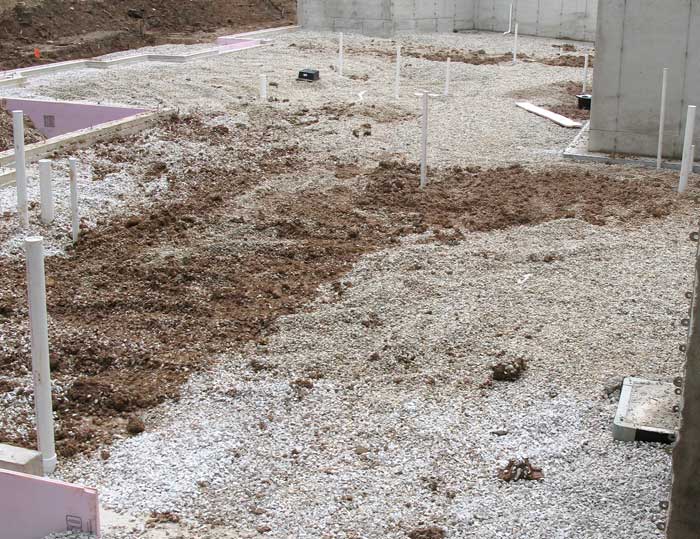
Backfill footings. Although most building codes only require 12", we use from 2 to 3 feet of gravel. |
| 8-22-07 |
|
Lay gravel for basement floor. Due to the use of supporting grade beams, this floor will be poured earlier than usual in the building schedule. |
| 8-24-07 |
|
Trenching basement floor drains to alleviate ground water build up during and after construction, and to protect nearby trees from excess water run off, a Green Built Home Practice � |
| 8-24-07 | 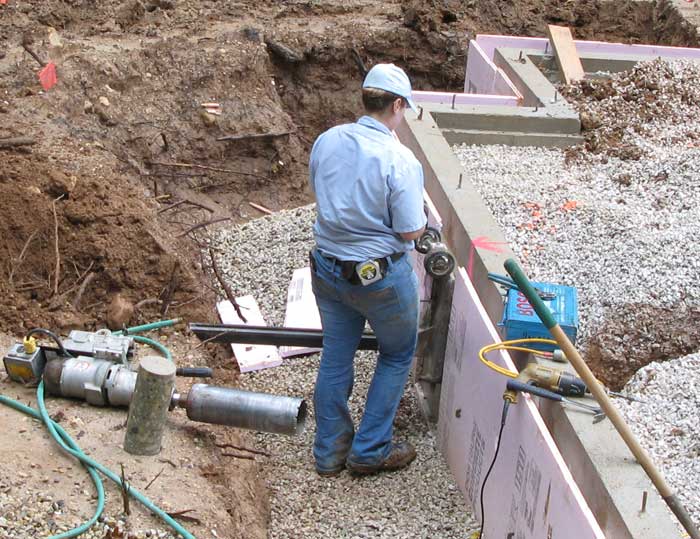 |
Installation of sewer drain. |
| 8-24-07 |
|
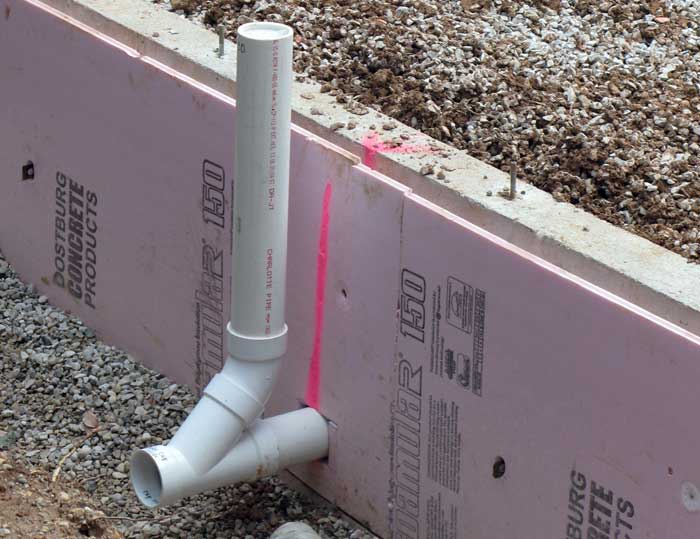
Sewer drain complete. |
| 8-27-07 |
|
Install rough plumbing in foundation prior to grade beams. |
| 8-28-07 |
|
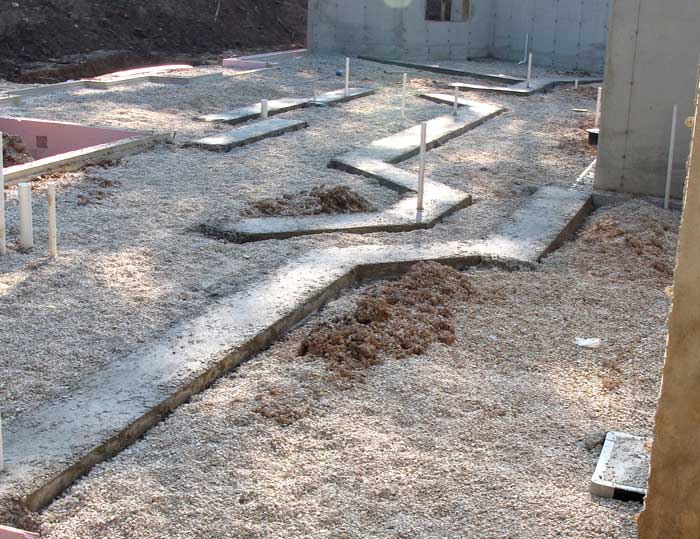
I nstall grade beam footings to help support the load of wide flooring spans and to facilitate the installation of heating ductwork later in construction. A grade beam footing is a continuous reinforced-concrete member used to support loads with minimal bending and are capable of spanning across non-load bearing areas. |
| 8-30-07 |
|
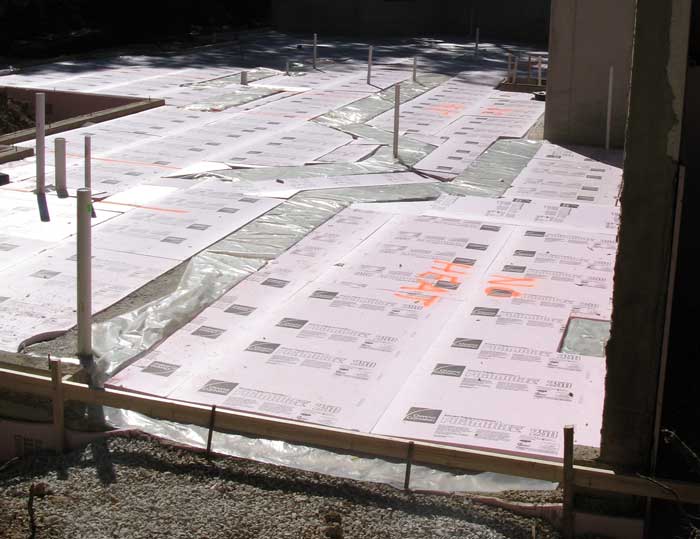
Basement crushed stone was graded and compacted. Then a vapor barrier was placed to cover the entire basement area. 2" Styrofoam was then placed on top to reduce thermal heat loss. |
| 8-31-07 |

|
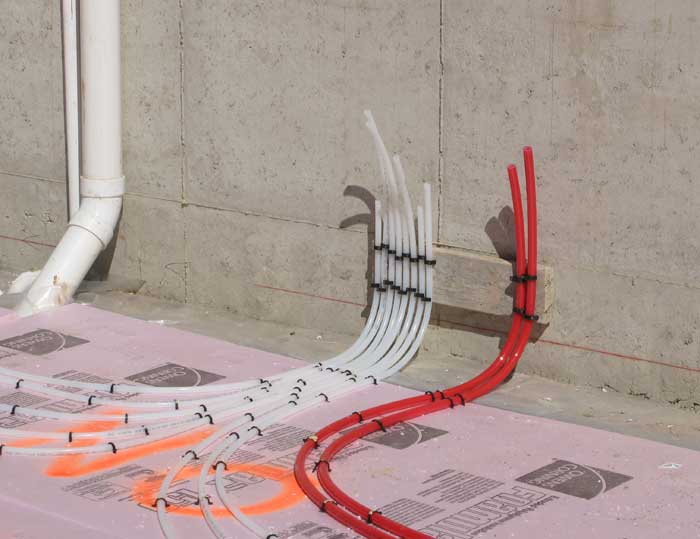
In-floor heating tubes were installed in preparation for an on-demand hot water system, a Green Built Home Practice � |
| 8-31-07 |
|
More prep for on demand hot water system. |
| 9-4-07 |
|
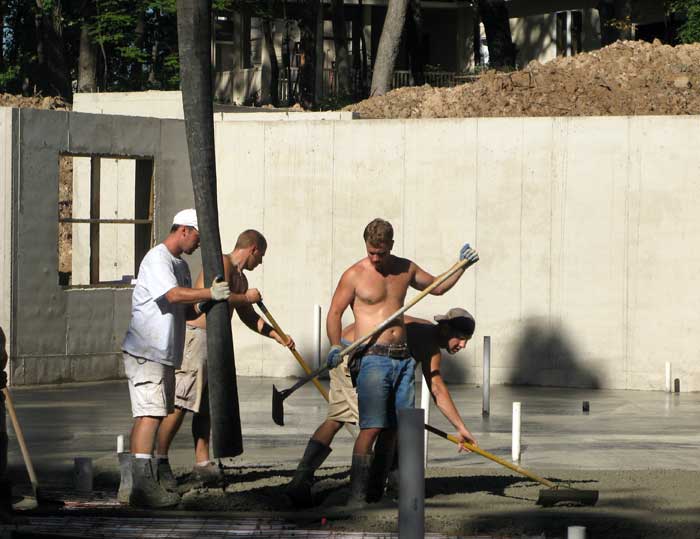
Pouring the basement floor. |
| 9-04-07 |

|
Basement floor poured and soft cut, then sealed the following day. |
| 9-05-07 |
|
Foundation is backfilled with stone |
| 9-6-07 |
|
Foundation backfill complete- delayed due to heavy rains. |
| 9-18-07 |

|
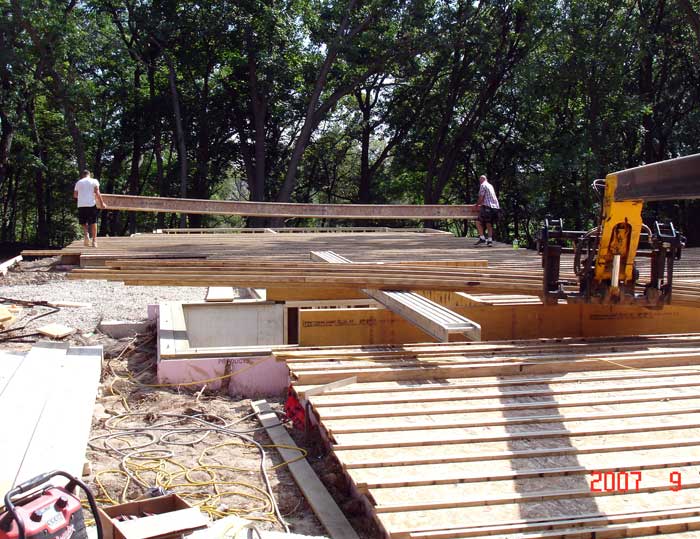
Lower level framed. |
| 9-18-07 |
|
Foundation is capped. |
| 9-20-07 |
|
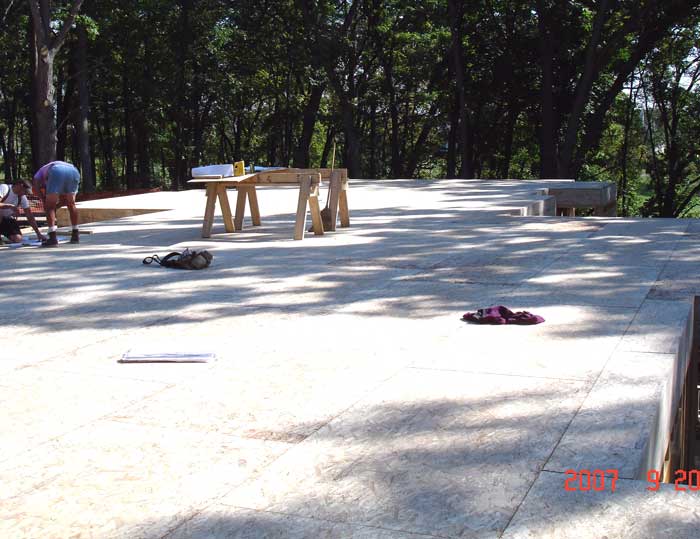
Main floor layout. |
| 9-2007 |

|
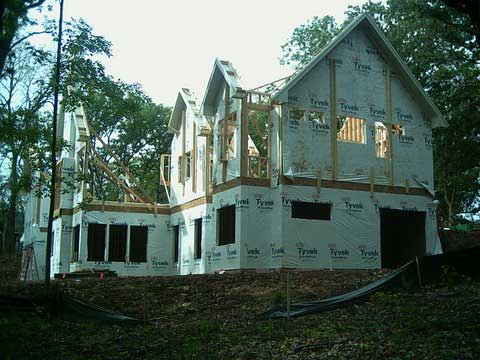
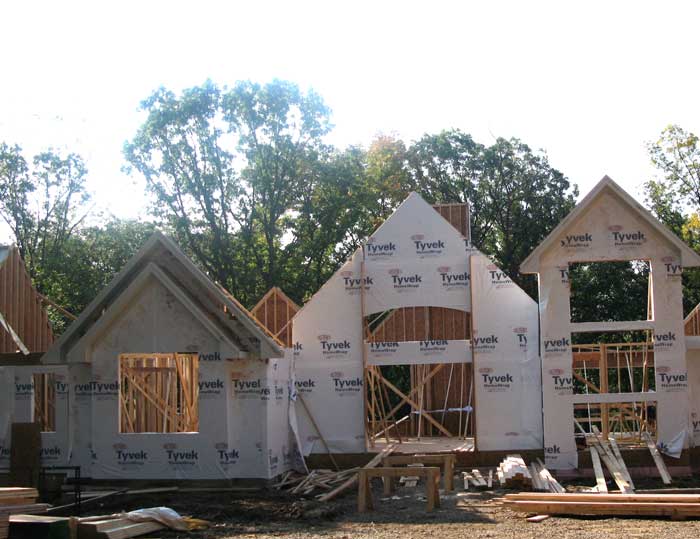
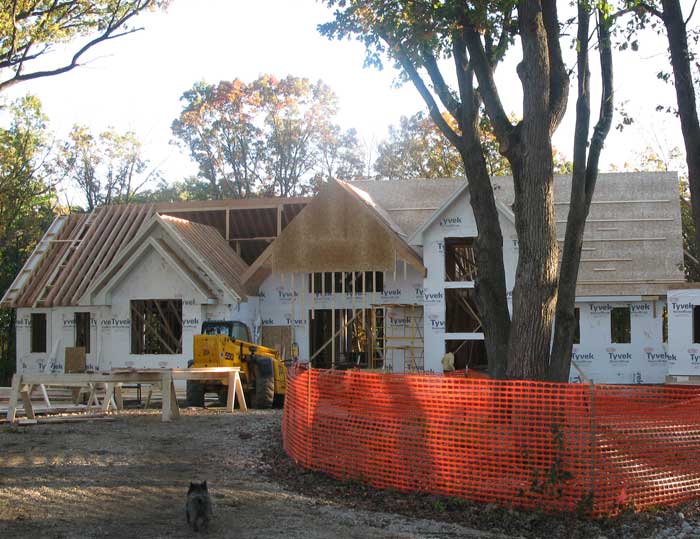
Framing |
| 9-2007 |
|
Framing |
| 9-2007 |

|
Framing |
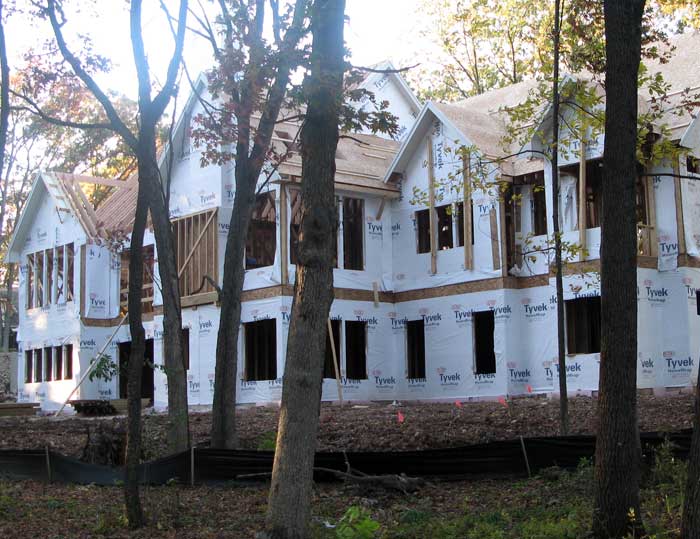
| 10-3-07 |
|
Framing |
| 10-17-07 |
|
Framing |
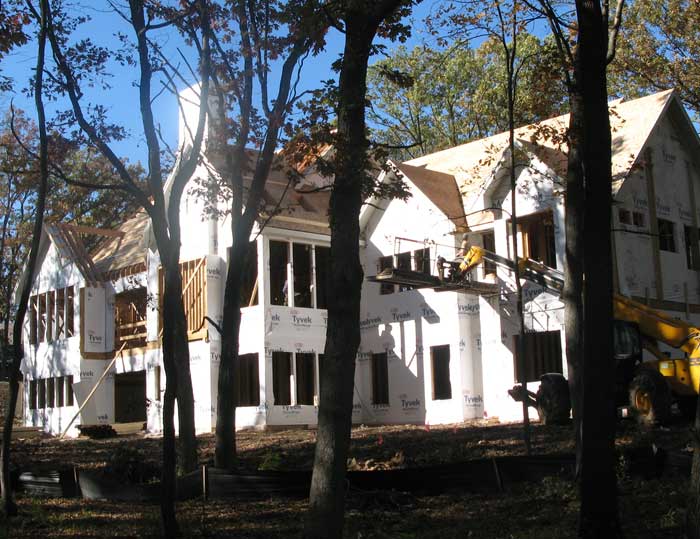
| 10-20-07 |
|
Framing |
| 10-20-07 |
|
Framing |
| 10-23-07 |
|
Framing |
| 10-23-07 |

|
Framing |
| 10-23-07 |
|
Framing |
| 10-23-07 |

|
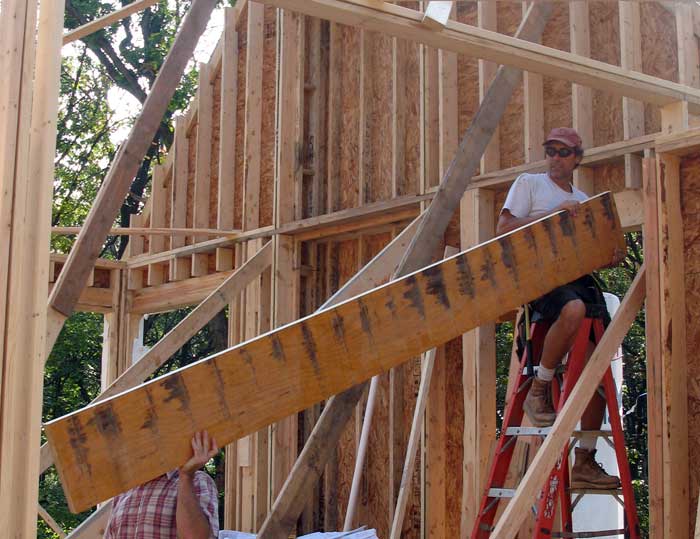
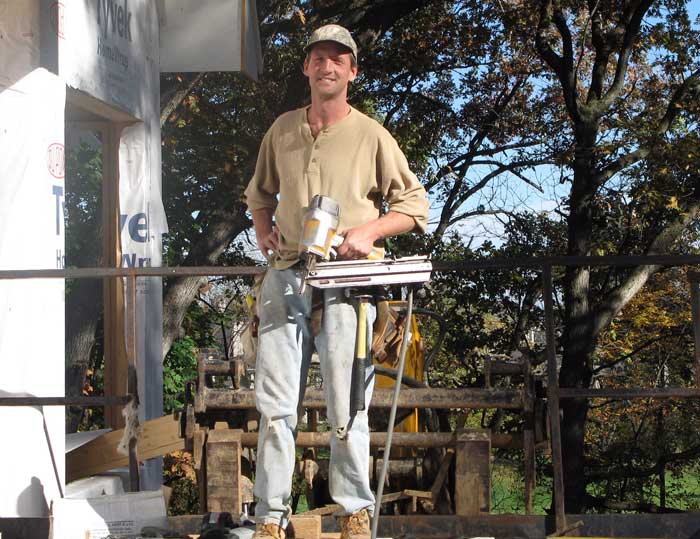
TimberStrand was used on all walls over 10'. TimberStrand is an engineered lumber that is always straight, true and consistent. It is free of knots and resists twisting, shrinking and bowing after installation. This helps reduce sheetrock cracks. Cabinets and countertops install flush without the hassles of shimming. Reduces the chance of tile and grout cracking. Framing inspection by Brianna. |
| 11-19-07 |
Adams.jpg)
|
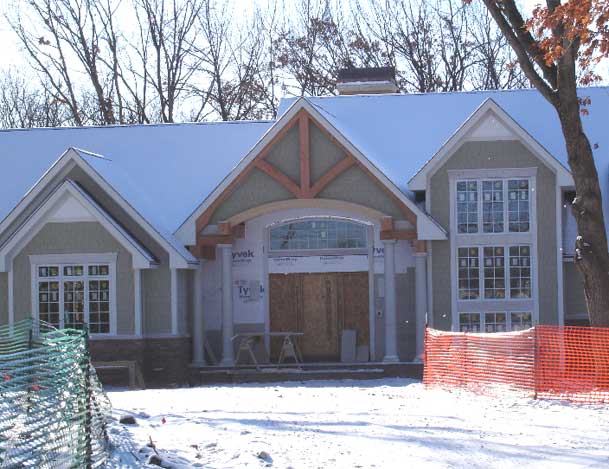
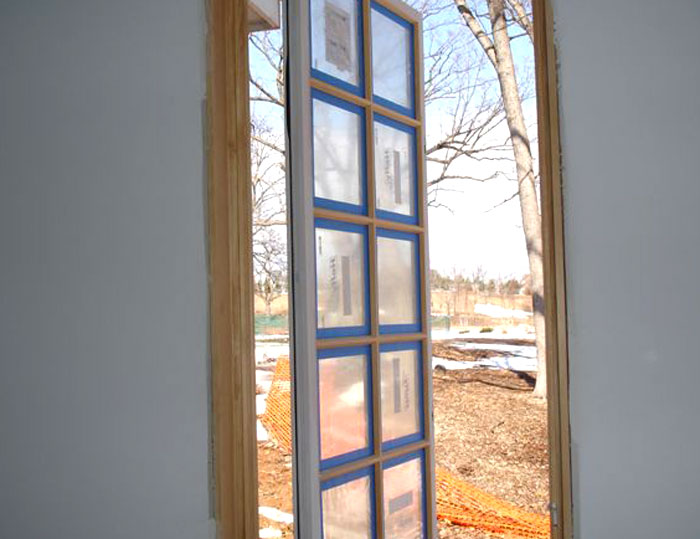
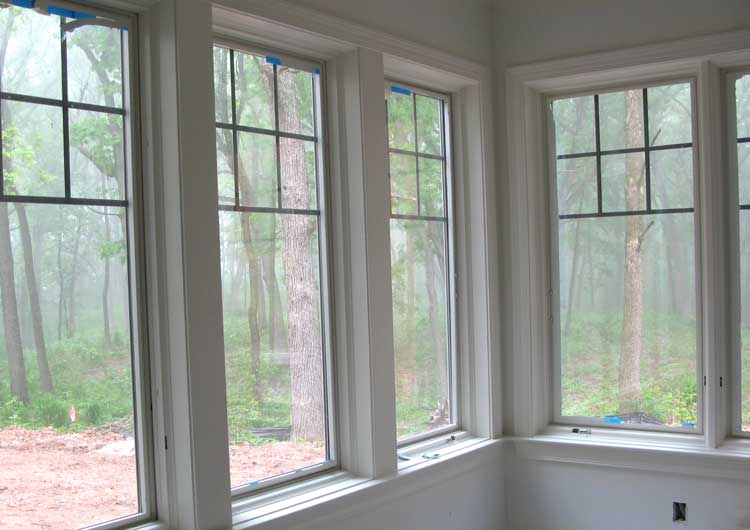
Framing continues. Windows are being installed. |
| 11-20-07 |
|
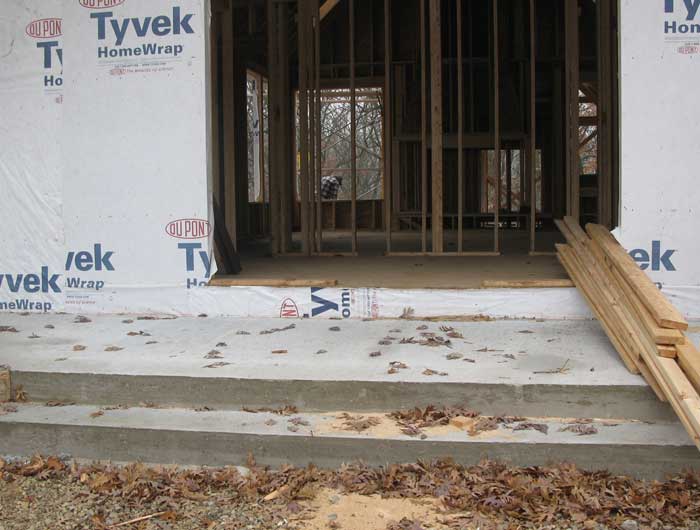
Front stoop is poured. |
| 11-20-07 |

|
Garage is poured |
| 11-20-07 |

|
Zero-step access garage entrance is completed - a barrier free, universal design principal. |
| 11-22-07 |
|
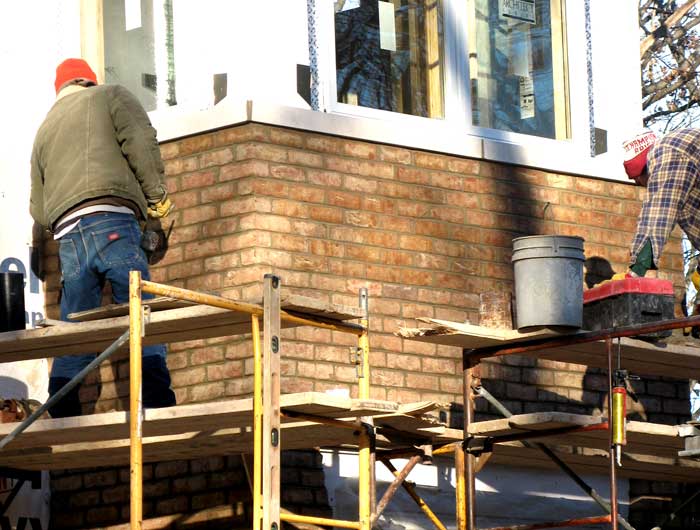
Exterior brick goes up. |
| 11-26-07 |

|
Chimneys run with brick. |
| 11-26-07 |
|
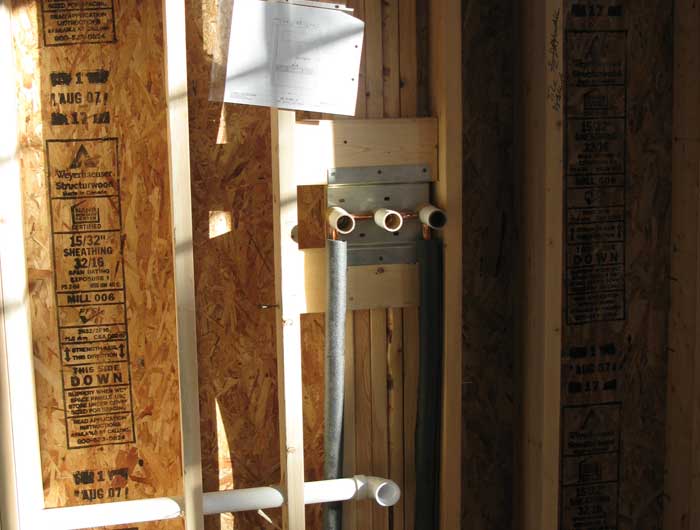
Rough plumbing begins. |
| 11-27-07 |
|
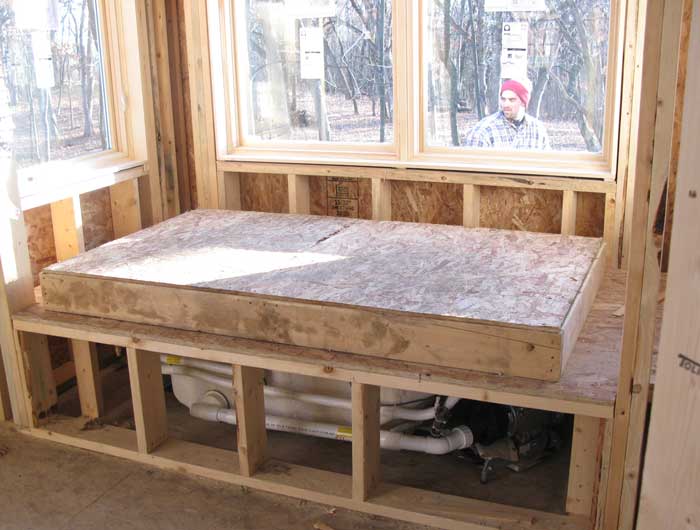
Bath tubs are installed and protected with wood caps. |
| 11-29-07 |
|
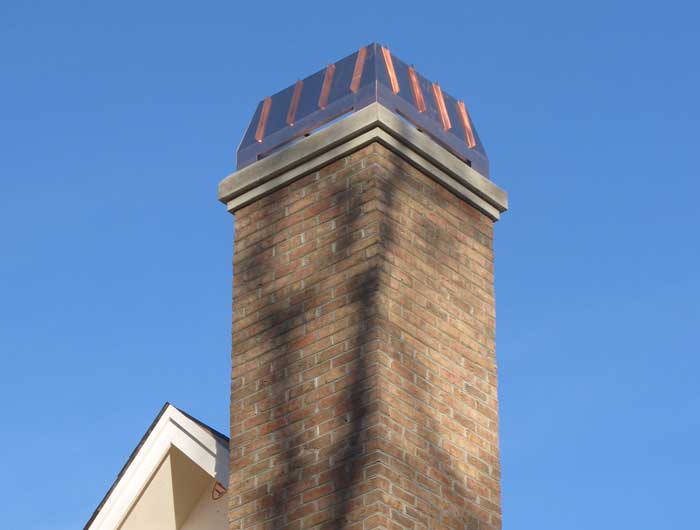
Copper Chimney Caps Installed |
| 11-29-07 |

|
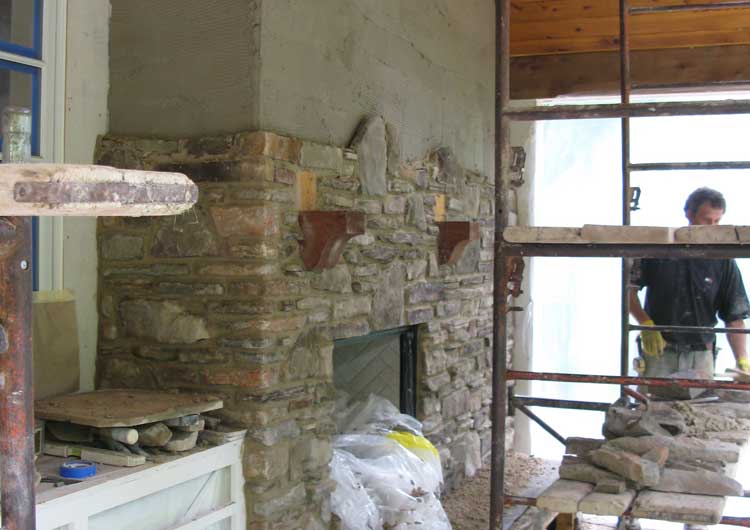
Fireplaces are installed |
| 12-1-07 |

|
Front entrance is laid with brick. |
| 12-10-07 |

|
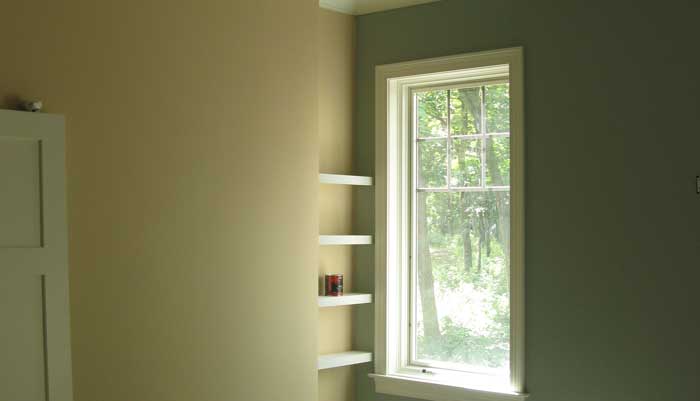
Stone sills are installed. |
| 12-05--07 | Rough electric begins | |
| 12-05-07 |
|
Window installation almost complete. Roofing 75% complete |
| 12-14-07 |

|
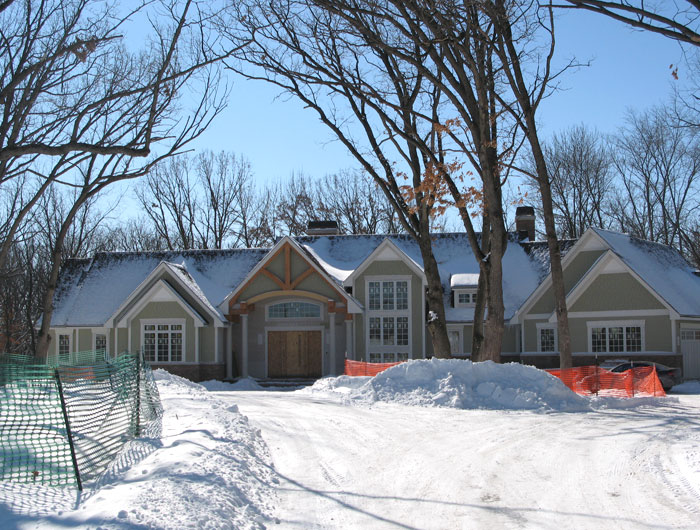
Roofing is finished. |
| 12-14-07 |
|
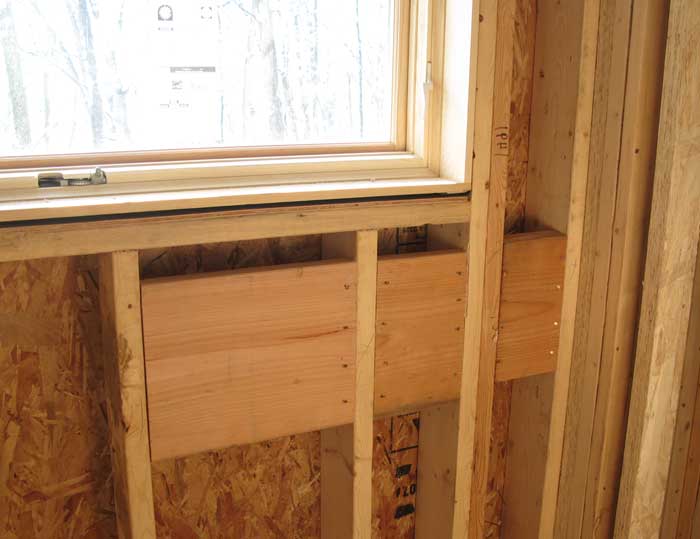
Blocking for grab bars - a barrier free universal design principal |
| 12-17-07 |

|
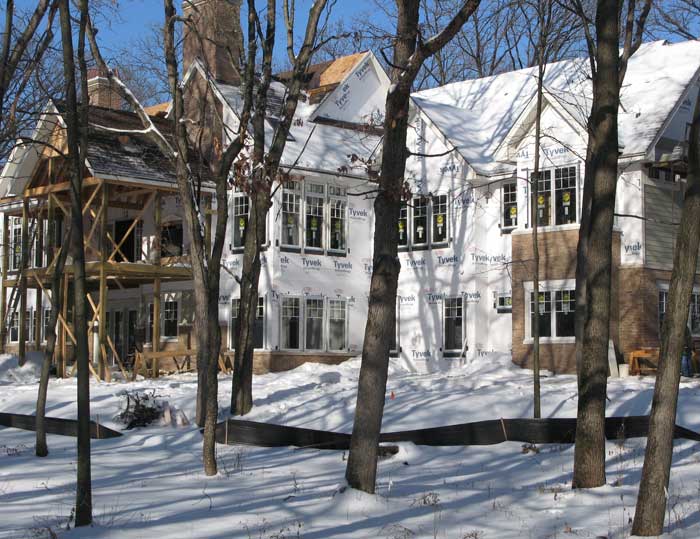
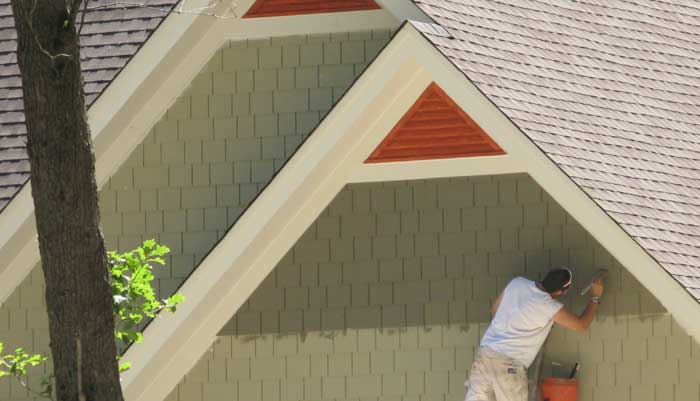
Exterior siding begins. As an extension of the Universal Design Principal, this home is finished with HardiPlank and HardiShingles, offering the longevity and low maintenance of Engineered Cement Composite to reduce future maintenance requirements. |
| 1-19-08 |
|
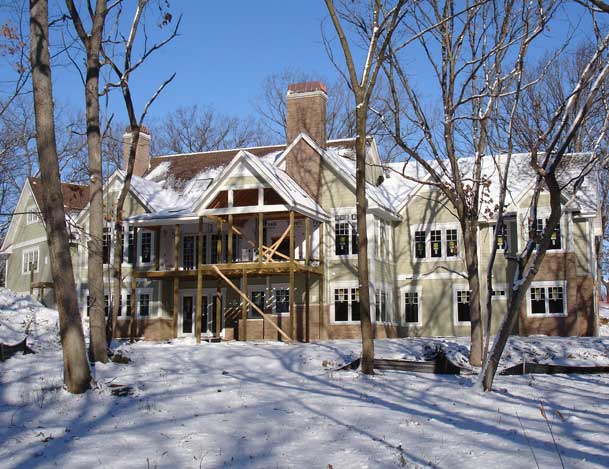
Exterior framing complete. 1 degree below zero! |
| 1-19-08 |
|
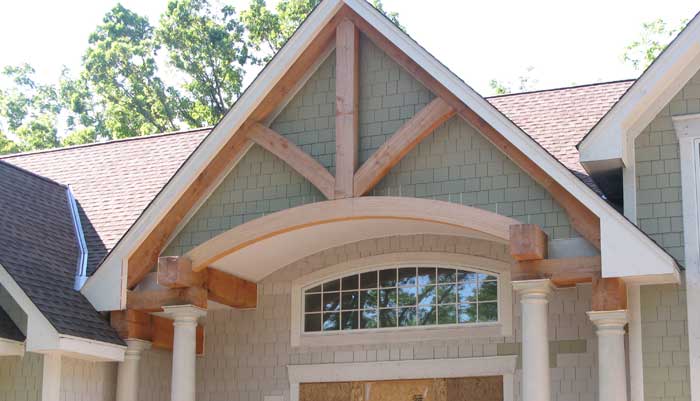
Front entry nears completion. |
| 1-19-08 |

|
Interior cleaned up and ready for inspections. All systems passed inspection! Dry wall is next. |
| 1-27-08 |
|
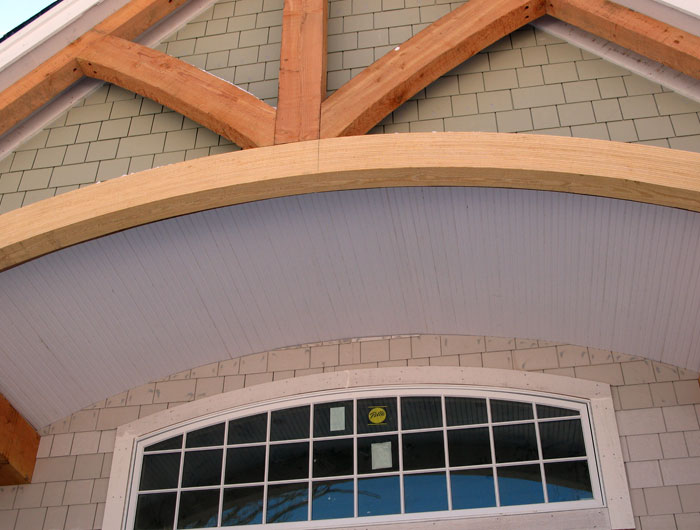
Front entry complete. |
| 1-27-08 |
|
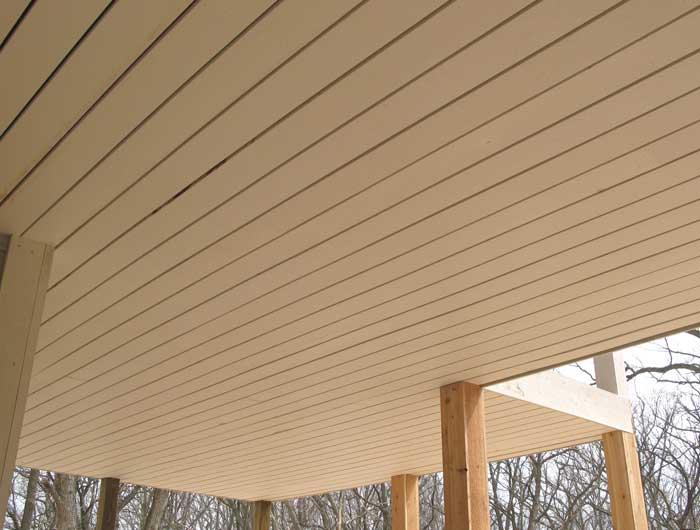
Azek beadboard was used to finish off the barrel roll ceiling on the front entry to reduce cracking and warping. |
| 1-28-08 |
|
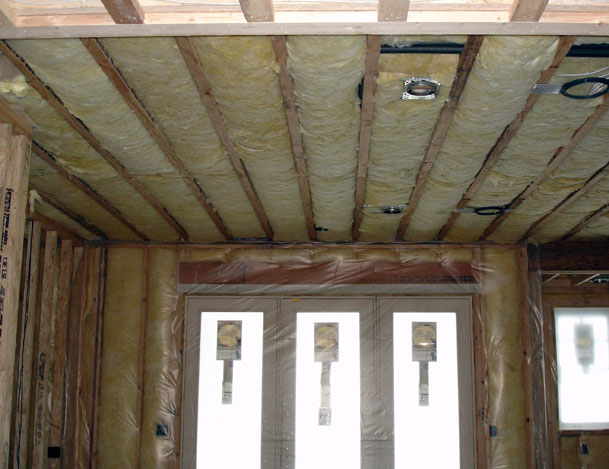
Lower level ceilings insulated with R-19. |
| 2-2-08 |

|
Exterior walls insulated with R-21. |
| 2-15 |
|
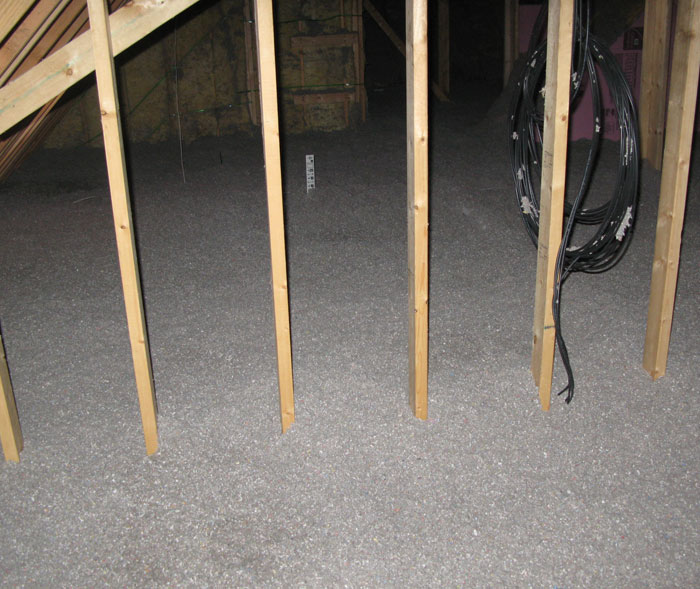
R-50 Attic insulation complete. |
| 2-22 |

|
Drywall installation and taping complete. |
|
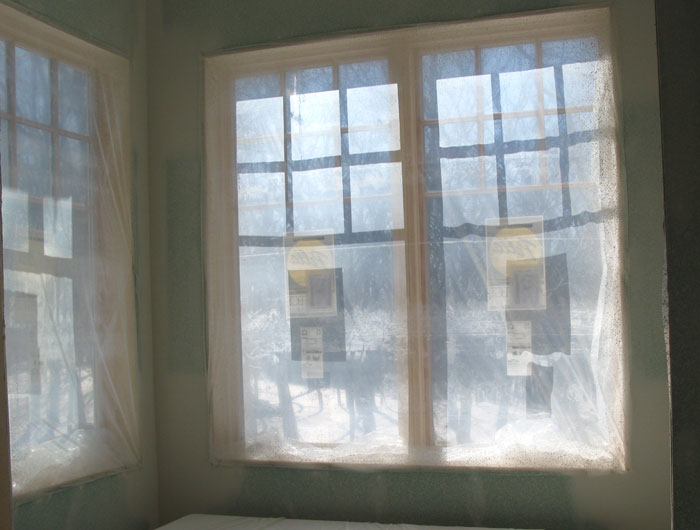
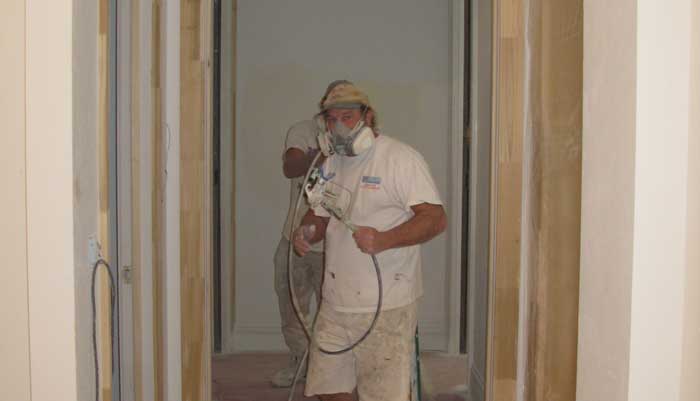
Home is prepped for drywall spray. | |
| 2-26 |
|
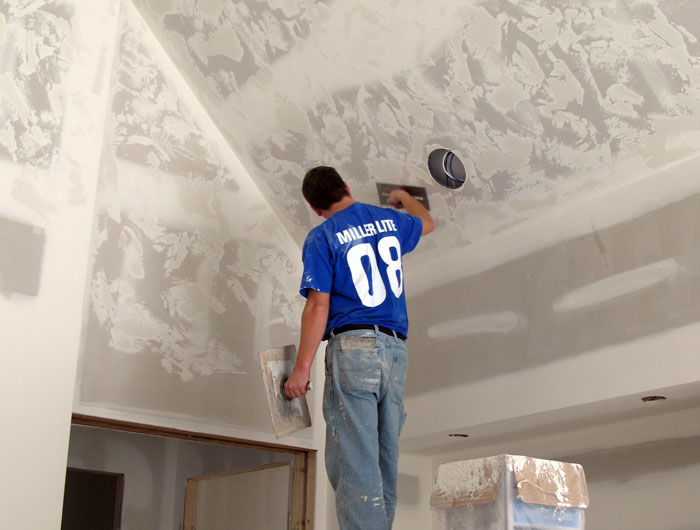
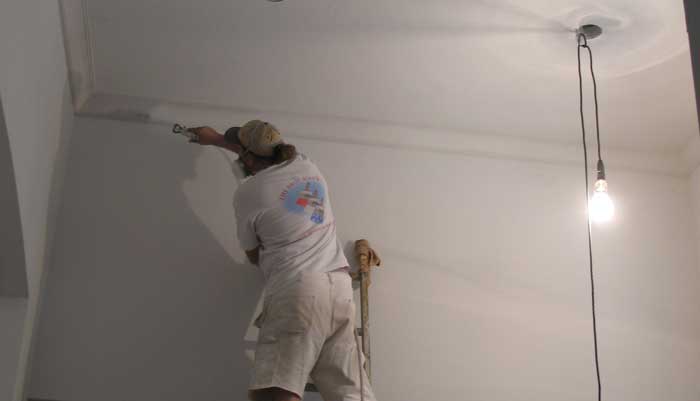
Drywall textures being applied. |
| 2-27 |
|
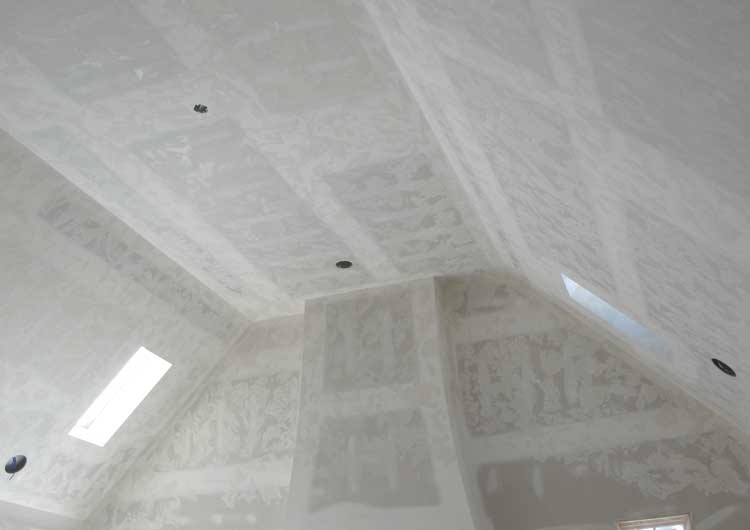
Drywall wall finishes complete. |
| 3-5-08 |
|
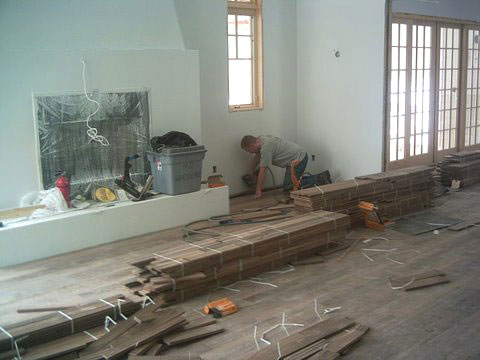
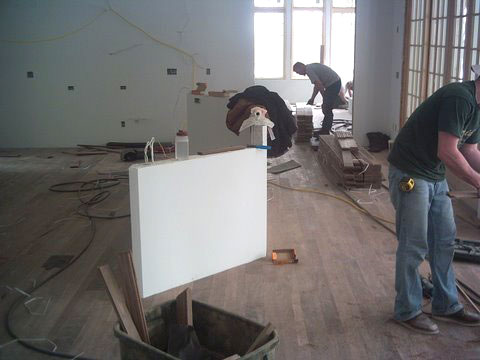
Walnut flooring installation begun |
| 3-6-08 |
|
Walnut flooring installation almost complete |
| 3-7-08 |
|
Doors are delivered. |
| 3-7-08 |
|
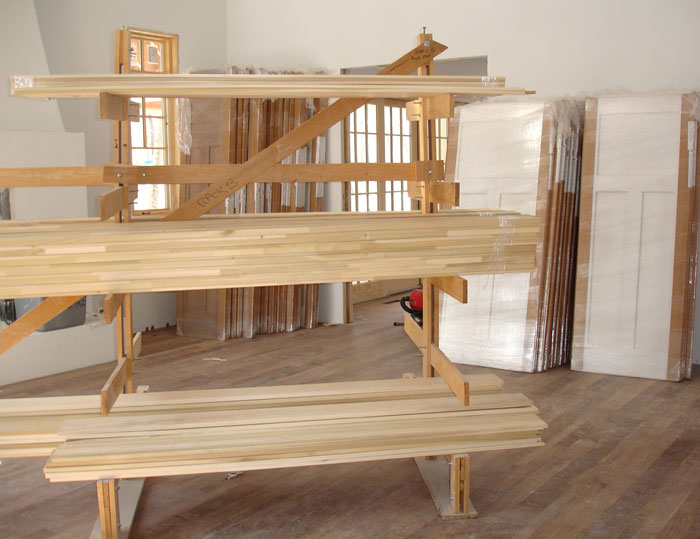
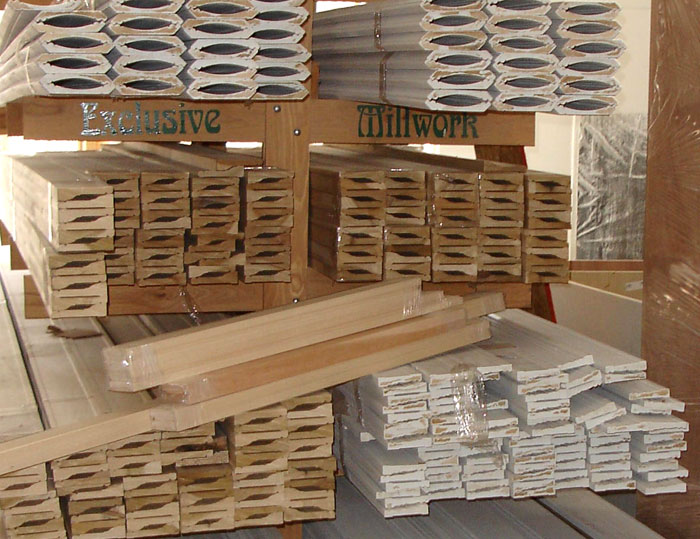
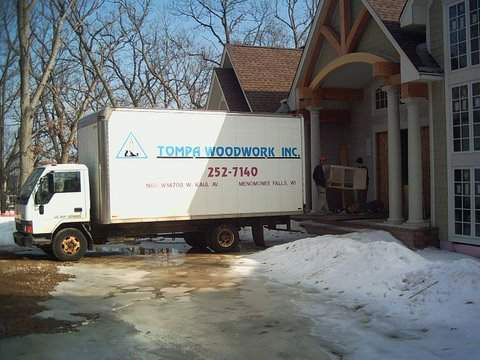
Millwork is delivered. |
| 3-11=08 |
|
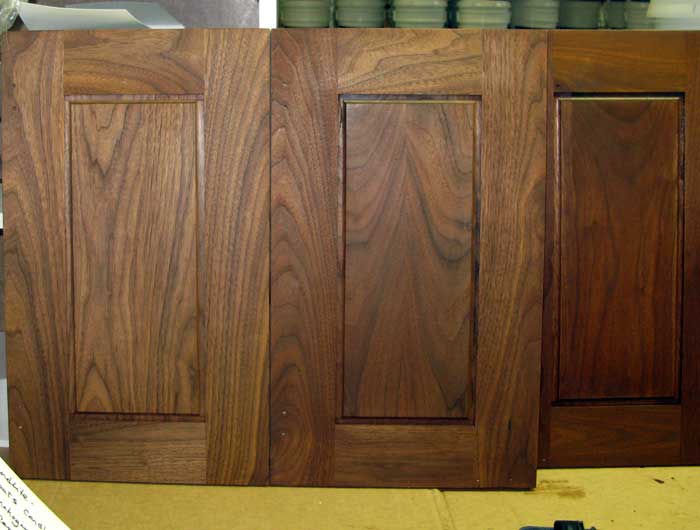
Custom cabinet delivery |
| 3-12-08 |

|
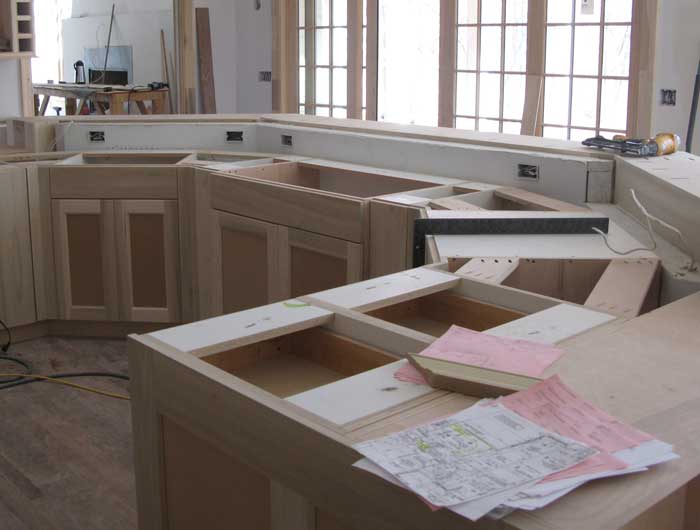
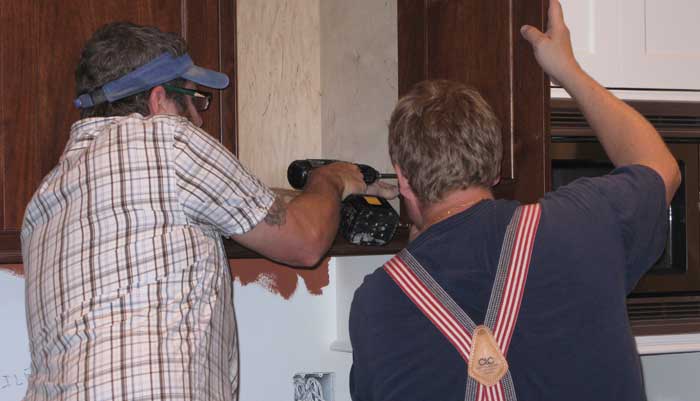
Cabinet installation begins |
| 3-12-08 |
|
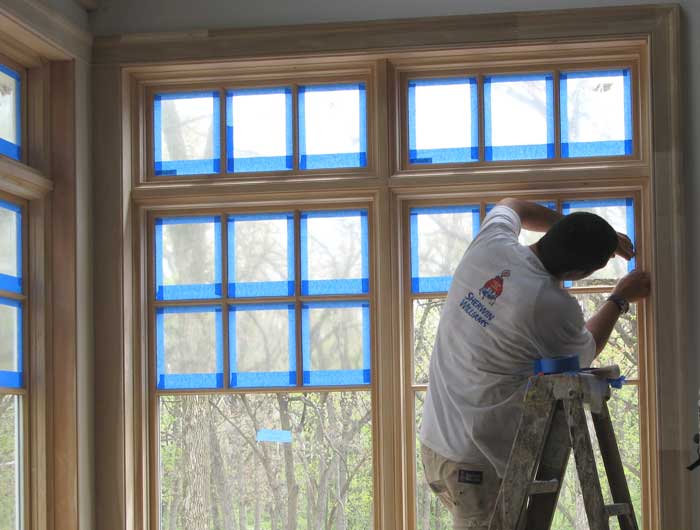
Windows are being prepped for staining and painting. |
| 3-19-08 |
|
Cabinet installation continues. |
| 3-25-08 |
|
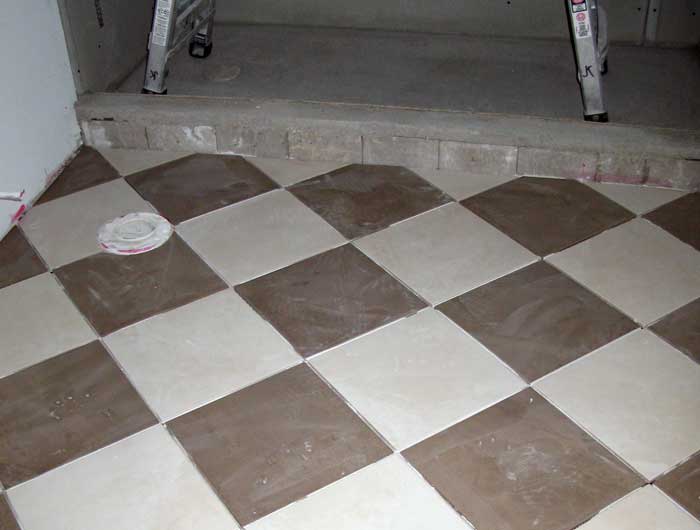
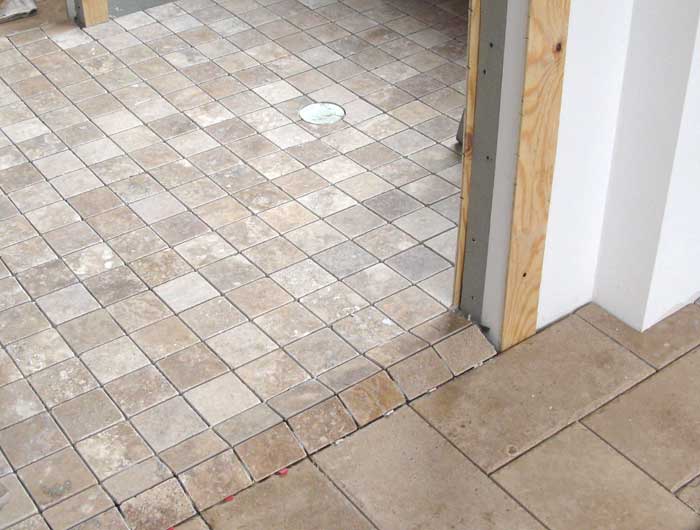
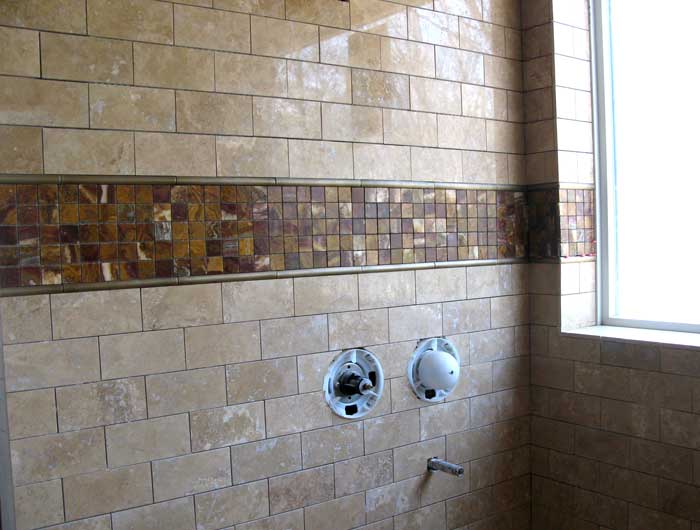
Tile installation begins. |
| 3-29-08 |
|
Tile installation continues. |
| 3-30-08 |
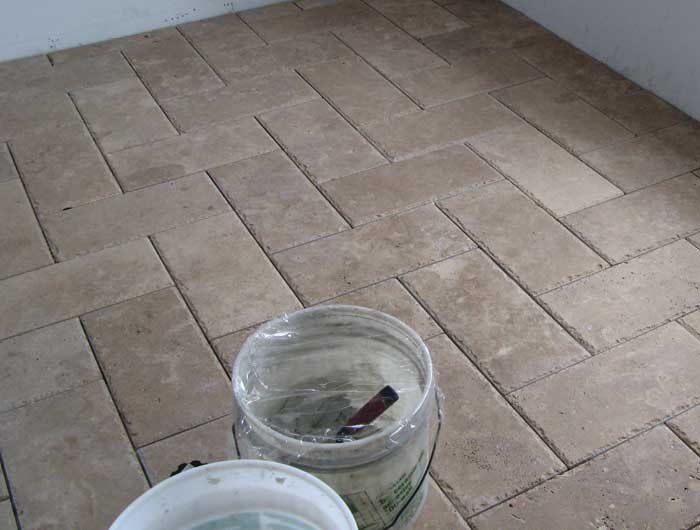
|
Tile installation continues. |
| 4-9-08 |
|
Custom stain colors are tested and selected. |
| 4-10-08 |
|
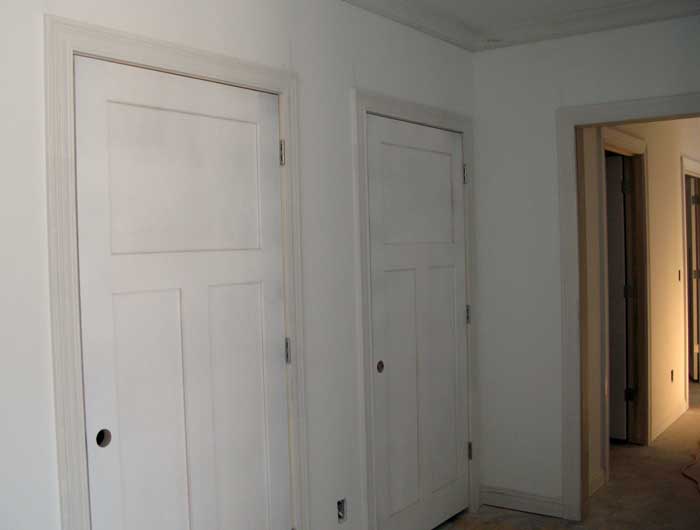
Lower level interior doors are hung. |
| 4-11-08 |

|
Exterior wood decking is installed using hidden fasteners. |
| 4-18-08 |

|
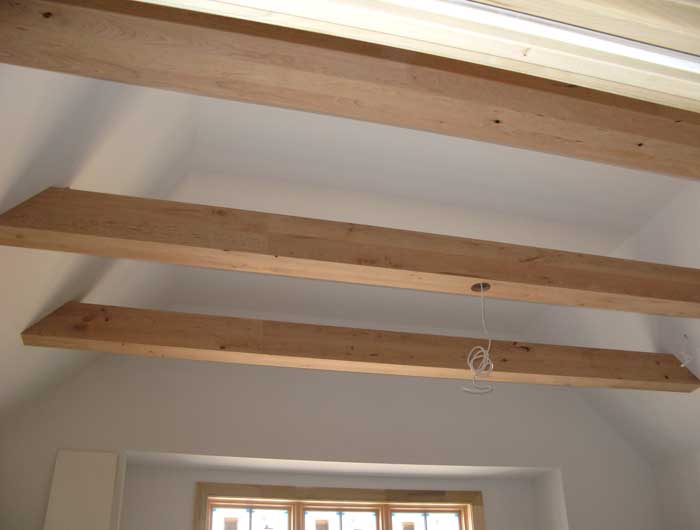
Great room beam installation begins. |
| 4-19-08 |
|
Maintenance free Azek is installed as under-decking, with screening above to protect against insects in porch above. |
| 4-19-08 |
|
Tile installation continues. |
| 4-22-08 |
|
Tile installation continues. |
| 4-27-08 |

|
Finish carpentry continues. |
| 4-27-08 |
|
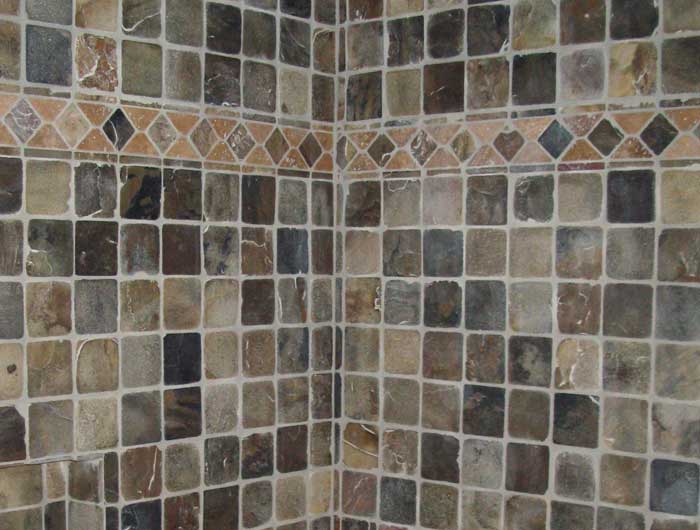
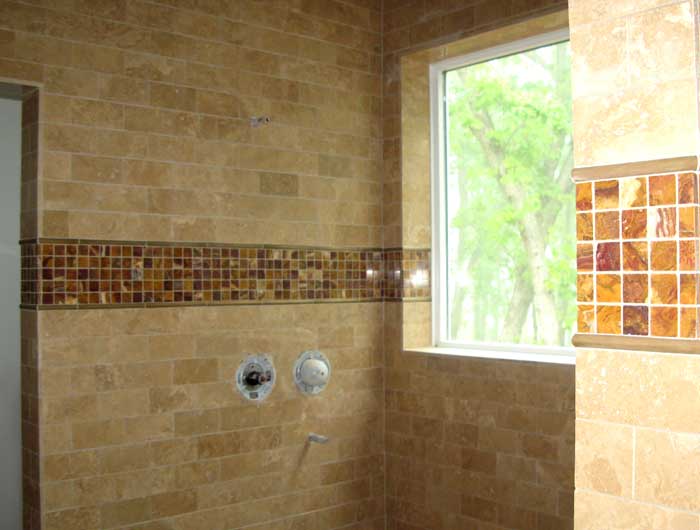
Master shower tile installed. |
| 4-28-08 |

|
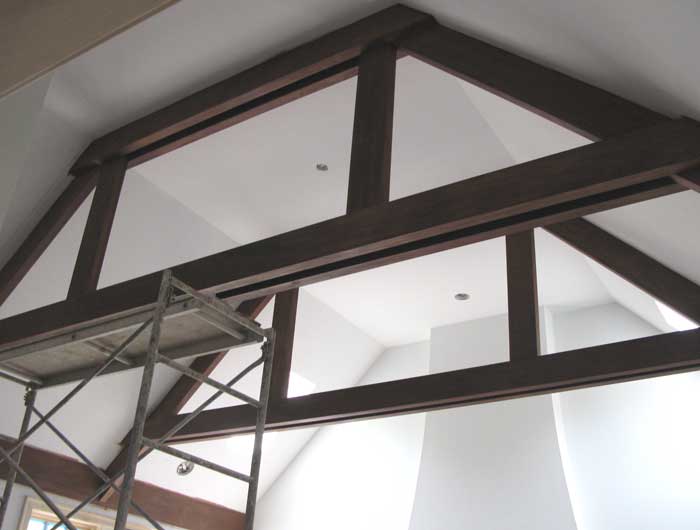
Great room beams are completed. |
| 4-29-08 |
|
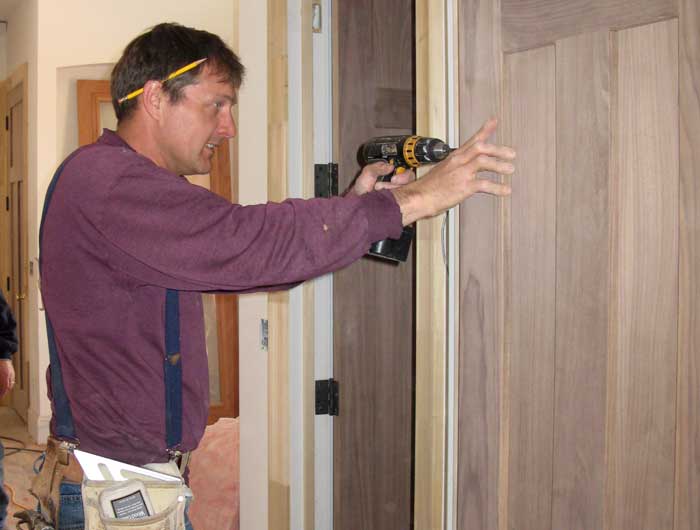
Upper level doors are installed. |
| 4-29 |
|
Master bedroom beams are completed. |
| 4-30-08 |
|
Front doors are installed. |
| 4-30-08 |
|
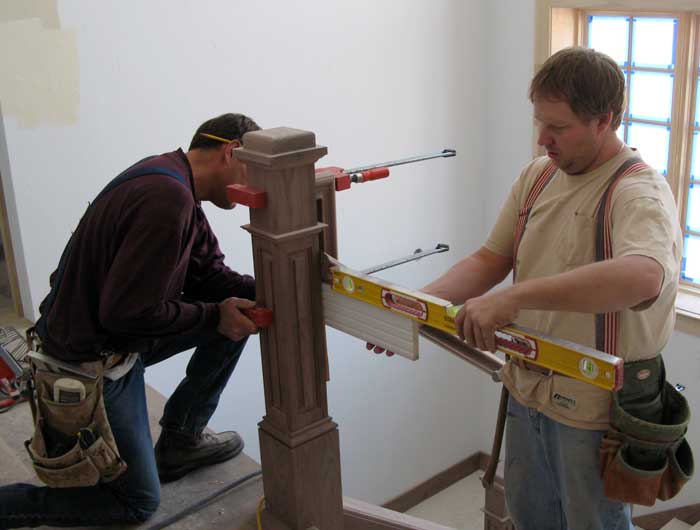
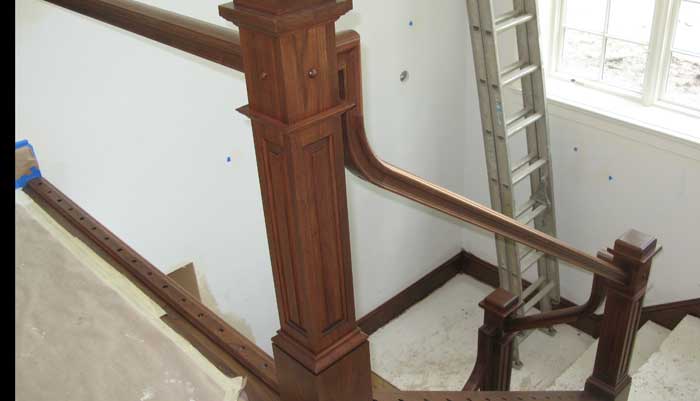
Stair construction begins. |
| 4-30-08 |
|
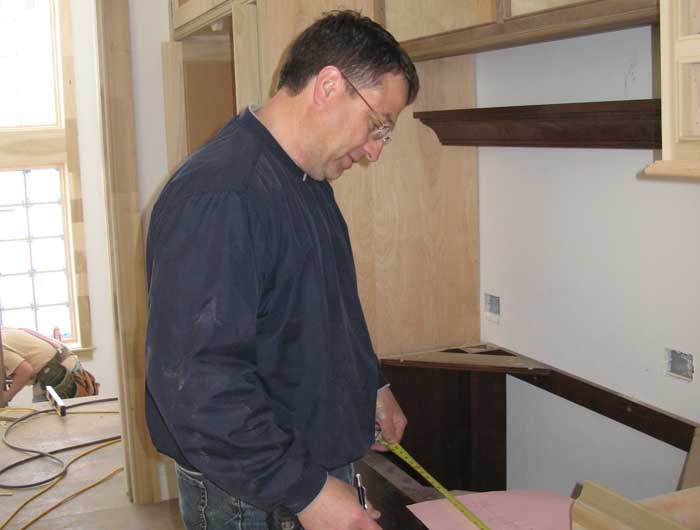
Counter tops are measured. |
| 5-2-08 |

|
Upper level slated being installed. |
| 5-2-08 |
|
Finish carpentry inspection by Brianna. |
| 5-2-08 |
|
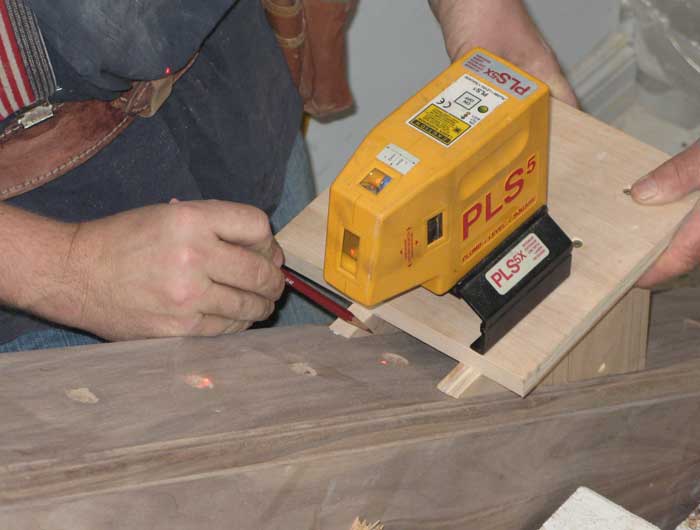
Stair balusters are positioned using lasers. |
| 5-3-08 |

|
Final crown molding installed. |
| 5-6-08 |
|
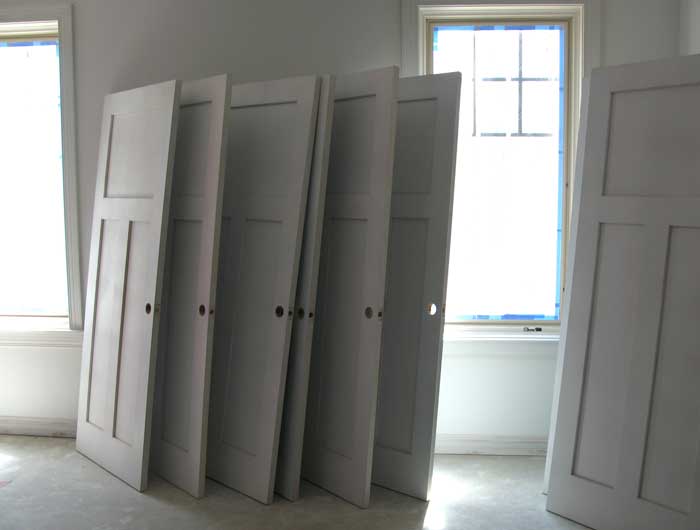
Painters prepare for painting the doors. |
| 5-15-08 |
|
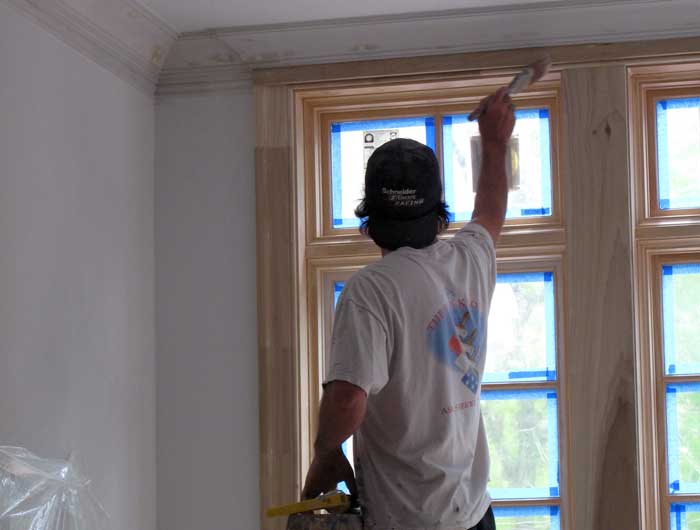
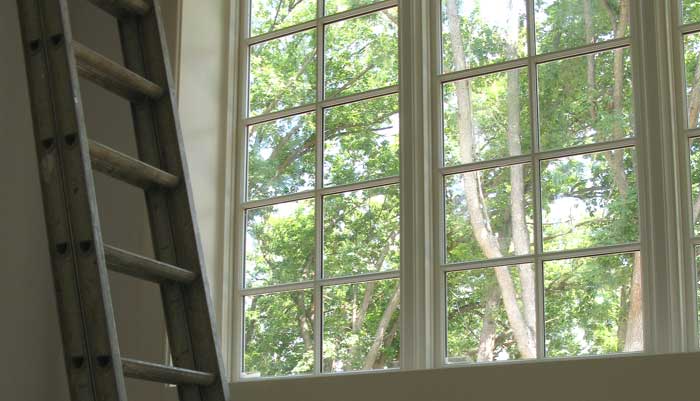
Painters prep upper level windows. |
| 5-15-08 |
|
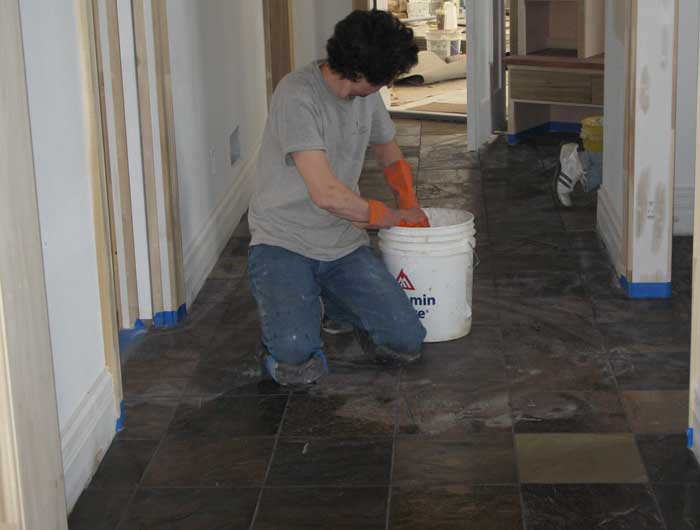
Upper level slate is grouted. |
| 5-19-08 |
|
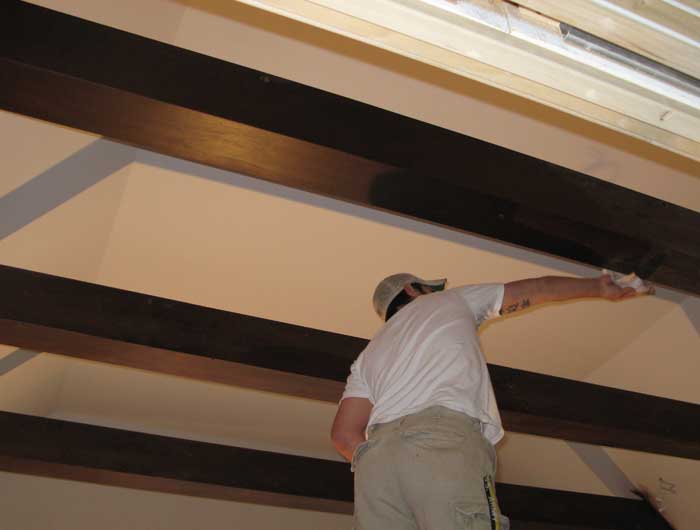
Great room beams are stained. |
| 5-27-08 |

|
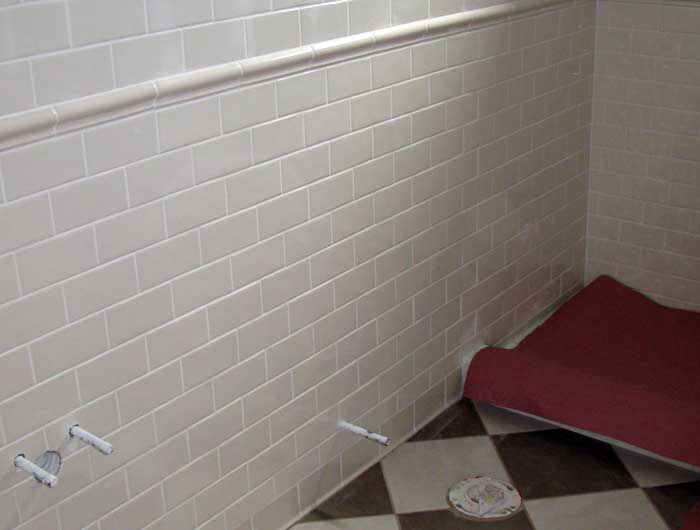
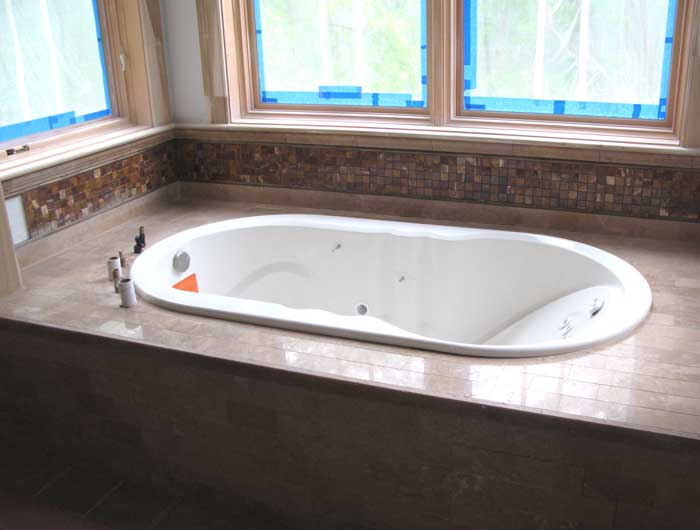
Master bath tub surround installed. |
| 5-27-08 |
|
Painting continues. |
| 5-27-08 |
|
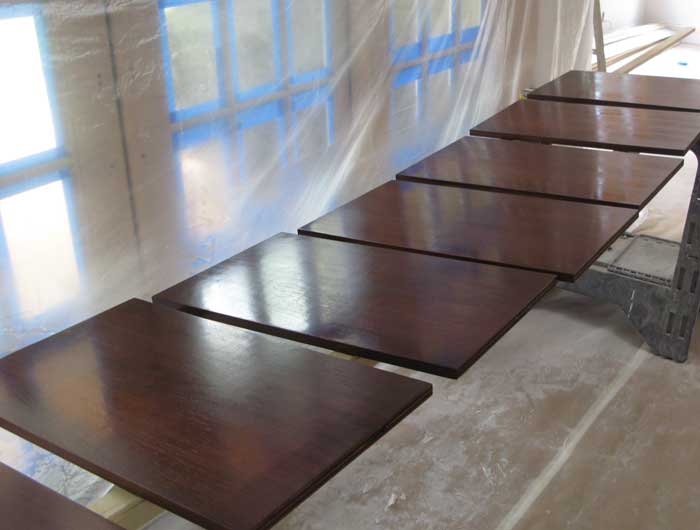
Wood-finishing continues. |
| 5-27-08 |

|
Master-tub-mechanicals access installed. |
| 6-4-08 |

|
Fireplace stone installation begins in the hearth room. |
| 6-04-08 |
|
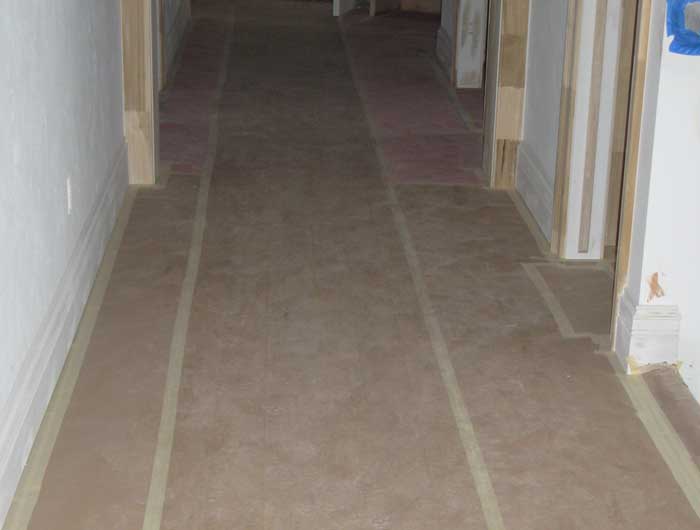
Upper floors are covered in preparation for the painters. |
|
6-4-08
|
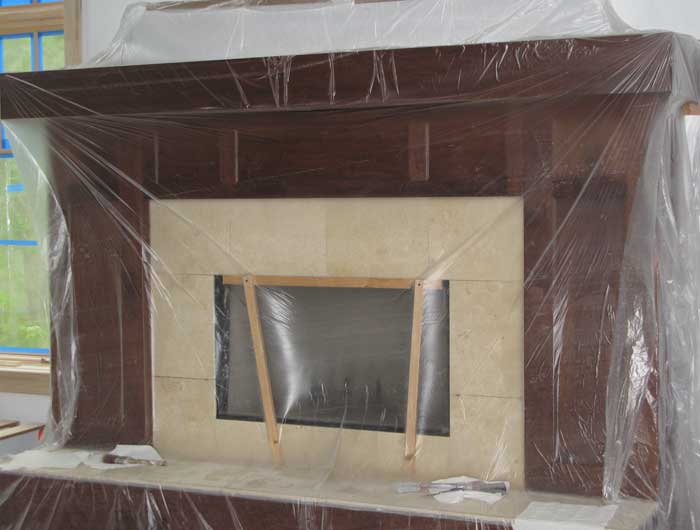
|
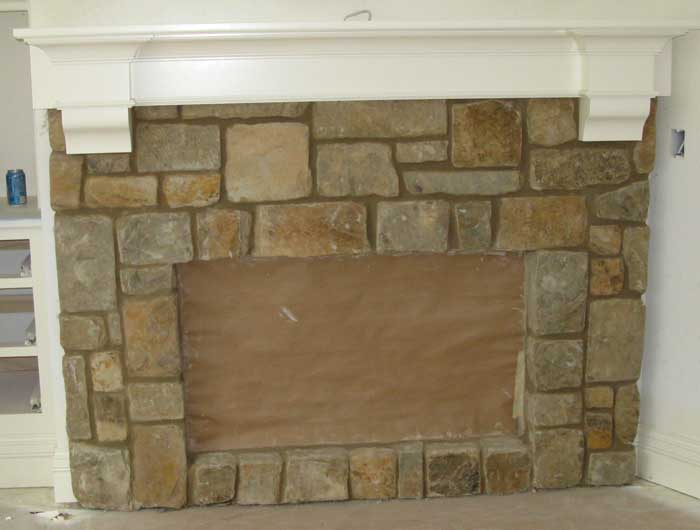
Great room fireplace is stained, the surround is installed, and covered in preparation for the painters. |
| 6-4-08 |
|
Master bedroom beams are stained. |
| 6-4-08 |
|
Preparation for installing the exterior stone fireplace. |
| 6-4-08 |
|
Master shower grout complete. |
| 6-4-08 |
|
Master tub surround complete. |
| 6-4-08 |
|
Hearth room stone surround complete. |
| 6-4-08 |

|
Exterior fireplace stone complete. |
| 6-5-08 |
|
Lower level trim and doors painted. |
| 6-9-08 |

|
Lower level painting continues. |
| 6-10 |
|
Lower level cabinets painted using General Finishes Enduro Professional Waterbase paint - a Green Practice. |
| 6-18 |
|
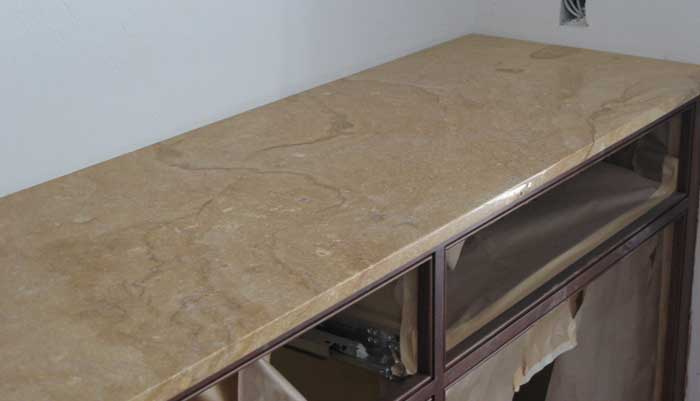
Stone counter tops are installed in great room. |
| 6-18-08 |
|
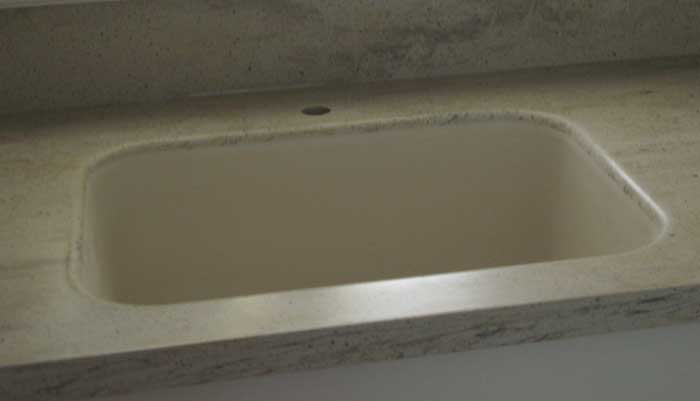
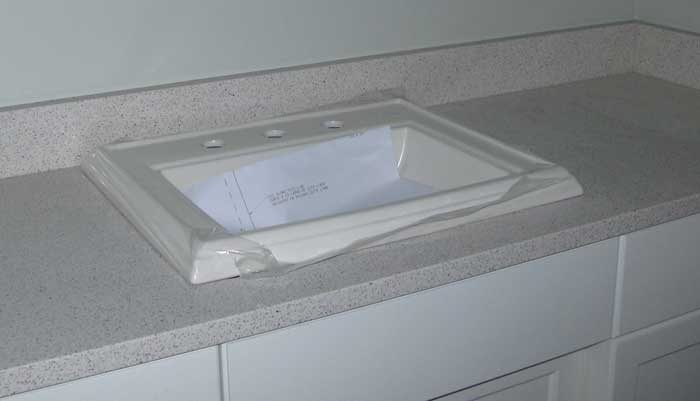
Corian countertops and seamless sinks are installed in pantry. |
| 6-19-08 |

|
Solatubes installed in command center to increase natural lighting, a Green practice. |
| 6-18-08 |
|
Painting of upper level continues. |
| 6-19-08 |
|
Lower level painting continues |
| 6-19 |
|
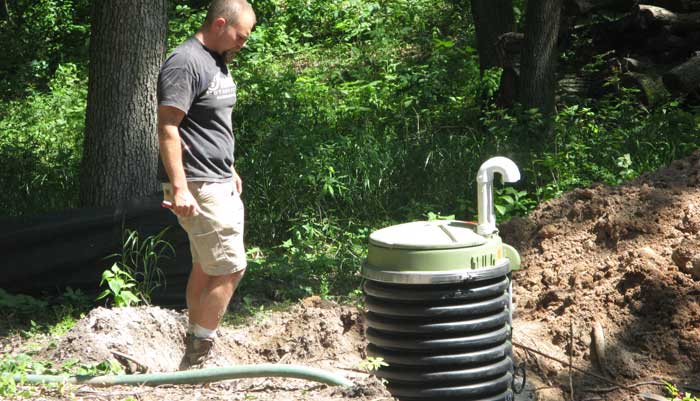
Sewer grinder installed. |
| 6-19-08 |
|
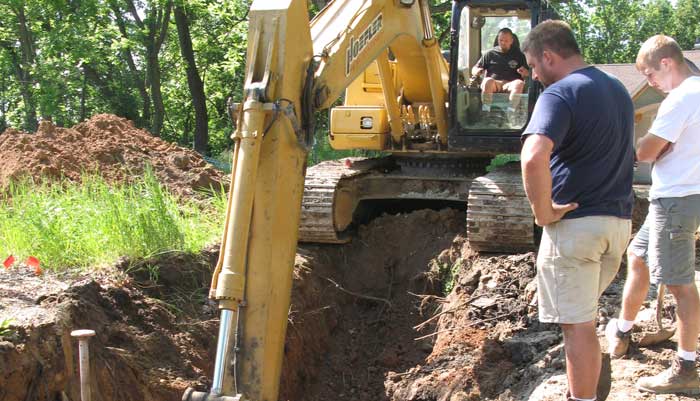
Trenching begins for sewer and water. |
| 6-20-08 |
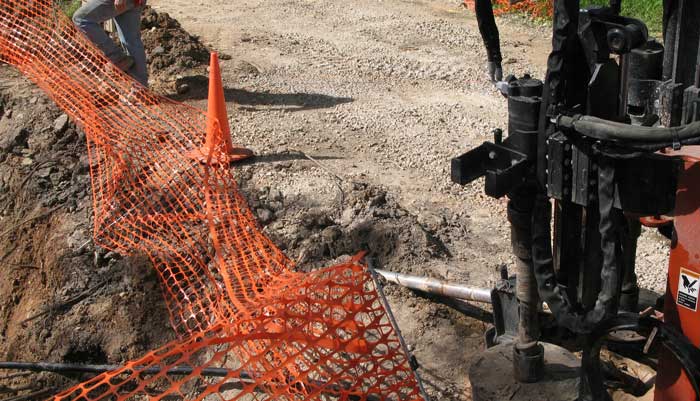
|
Directional drilling of sewer is completed. |
| 6-21-08 |
|
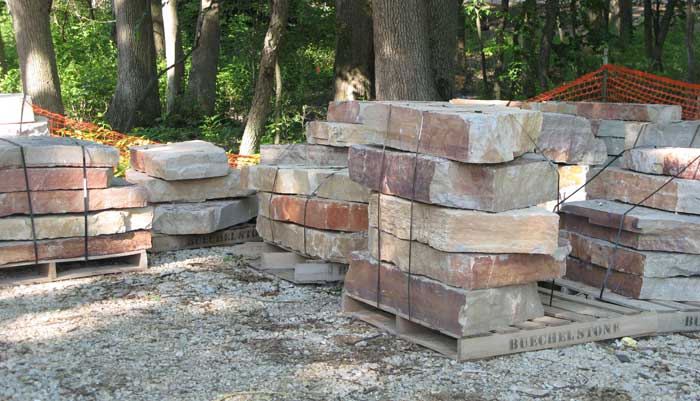
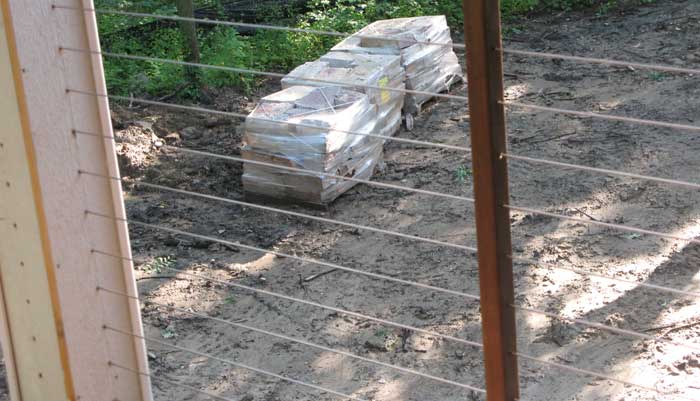
Stone is delivered for exterior retaining walls. |
| 6-23-08 |
|
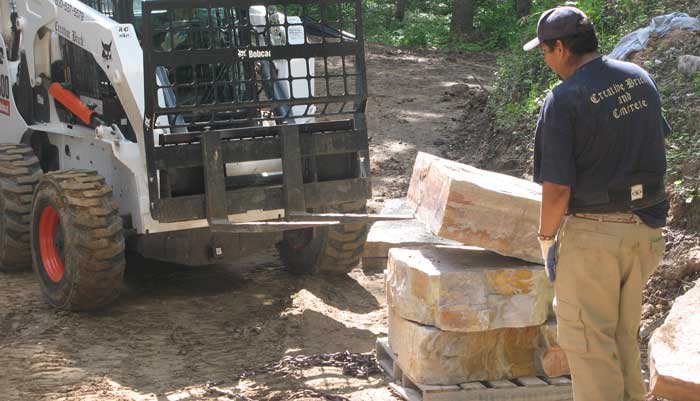
Work begins on exterior retaining walls. |
| 6-24-08 |
|
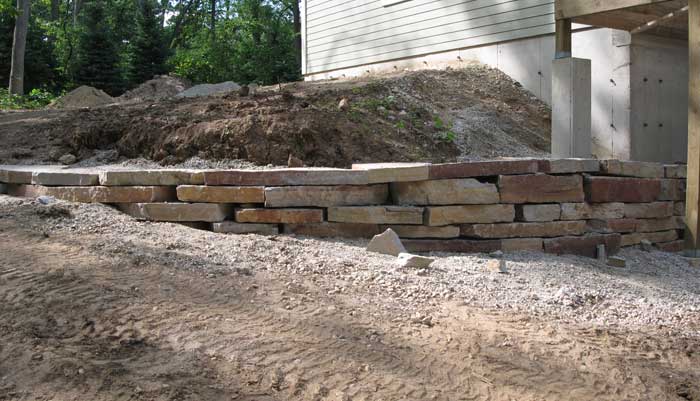
Work continues on exterior retaining walls. |
| 6-25-08 |
|
Lower level painting complete |
| 7-2-08 |
|
Final plumbing installations begin. |
| 7-2-08 |
|
Appliance installation begins. |
| 7-5-08 |
|
Painting of upper level continues. |
| 7-9-08 |
|
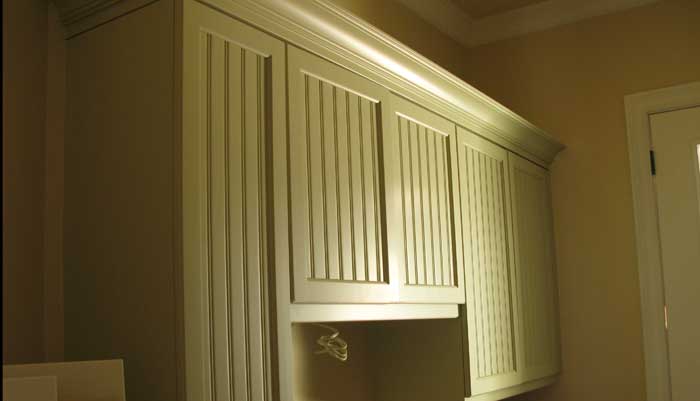
Utility cabinets are painted. |
| 7-9-08 |

|
Finished electric begins. |
| 7-9 |
|
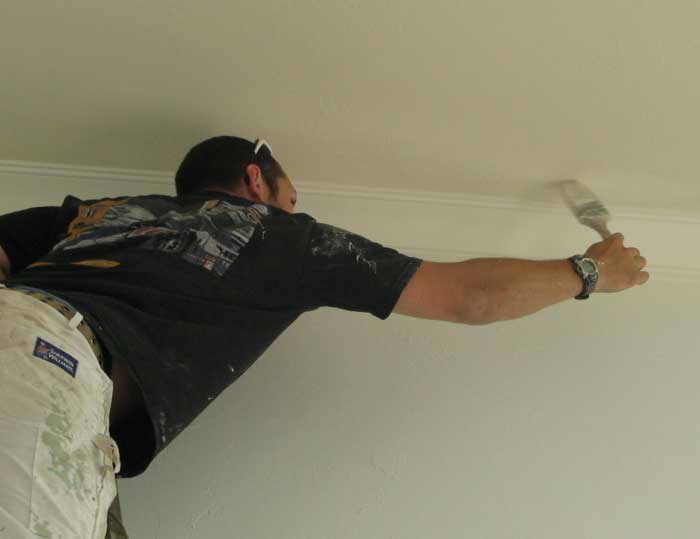
Upper level ceilings are painted |
| 7-11-08 |
|
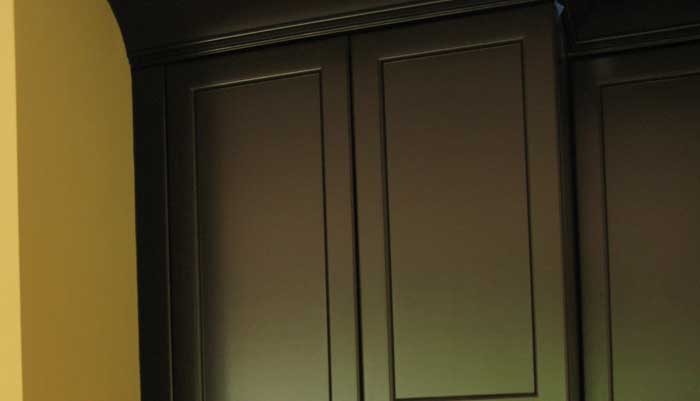
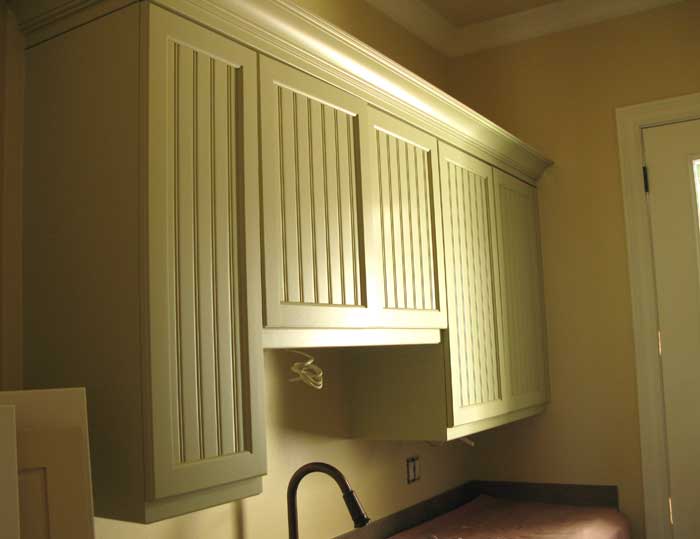
Finished plumbing installation continues. Cabinets are painted Grasshopper Green using General Finishes water based finishes, a Green Practice. |
| 7-11-08 |

|
Interior painting continues. |
| 7-11-08 |

|
Porch screen installation begins. |
| 7-11-08 |
|
Finished electric continues. |
| 7-11-08 |
|
It is time to complete the stairway. The finishing of this area is always done at the end to minimize damage due to to traffic. |
| 7-11-08 |
|
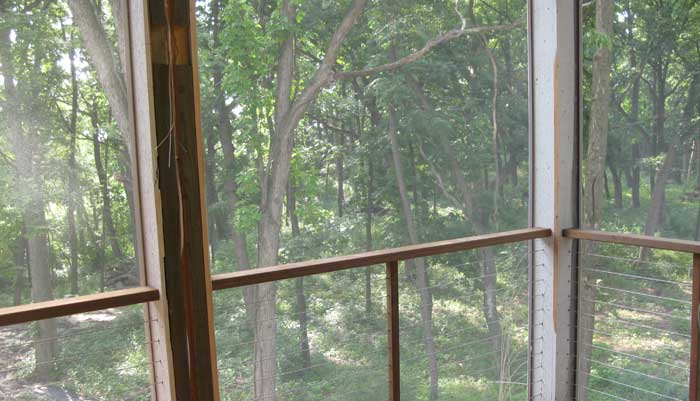
Porch cable tie railings are complete. |
| 7-14-08 |
|
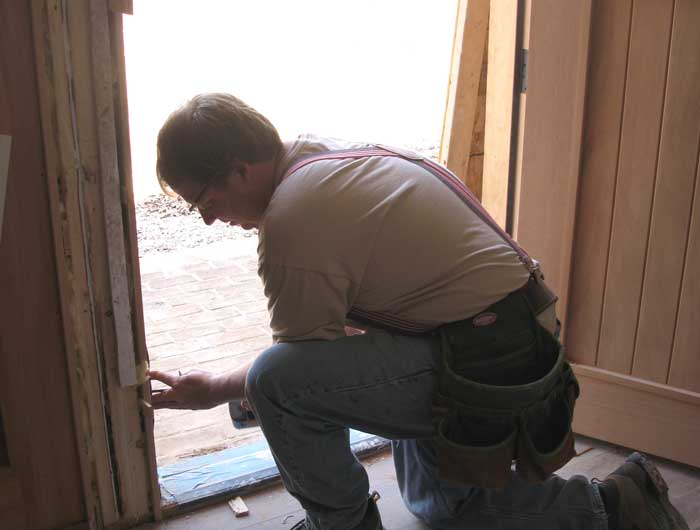
Exterior entrance complete |
| 7-16-08 |
|
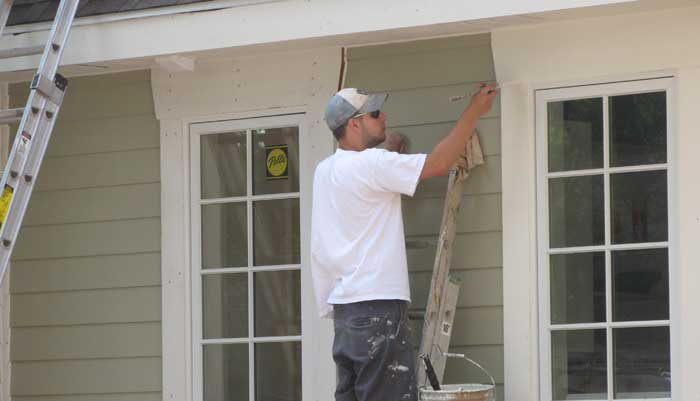
Painting final exterior coat begins. |
| 7-16-08 |
|
Porch screening almost complete. |
| 7-15-08 |

|
Gutters installed. |
| 7-16-08 |
|
Cabinet doors installed |
| 7-17-08 |

|
Hardwood floors are sanded. |
| 7-18-08 |
|
Finished electric continues. |
| 7-18-08 |
|
Exterior decks installed. |
| 7-23-08 |
|
Painting exterior continues. |
| 7-23-08 |

|
Patio installation. |
| 7-27-08 |
|
Finish electric continues. |
| 7-28-08 |
|
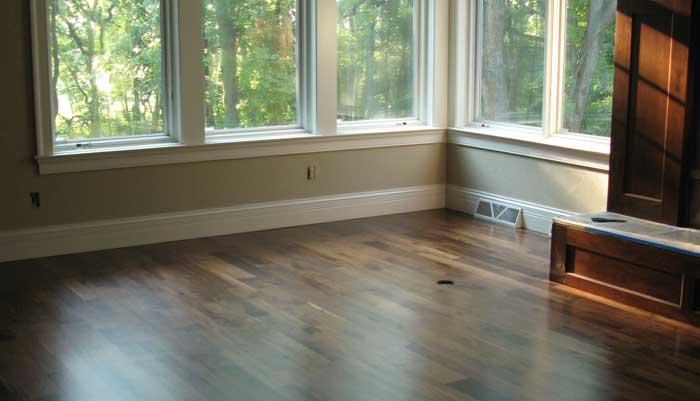
Finish is applied to walnut hardwood flooring. |
| 7-30-08 |
|
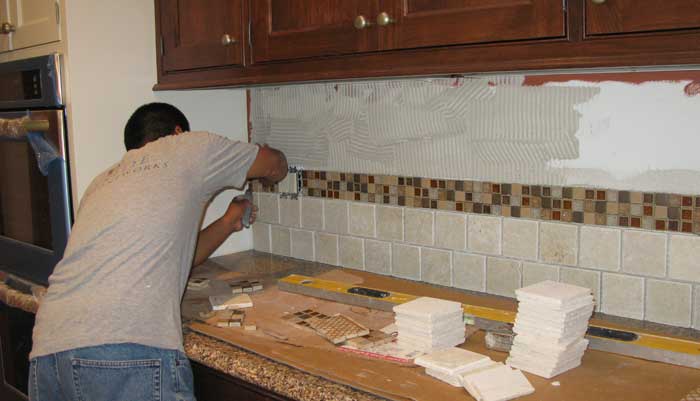
Tile installed in kitchen backsplash. |
| 7-30-08 |
|
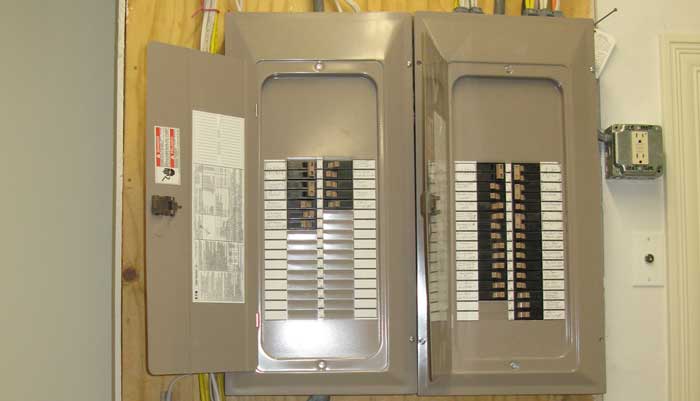
Electric panels complete. |
| 7-30-08 |
|
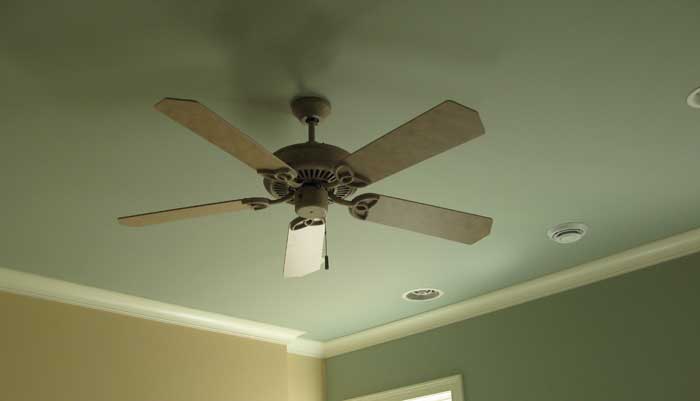
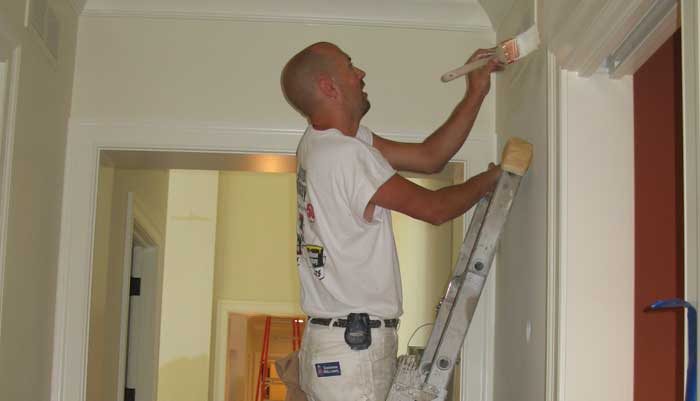
Painting upper level continues. |
| 8-5-08 |
|
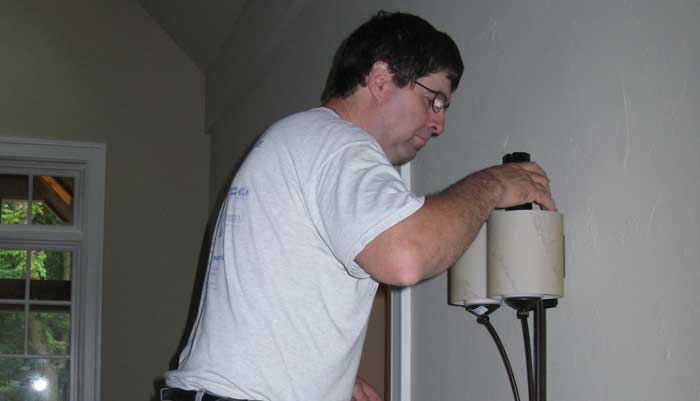
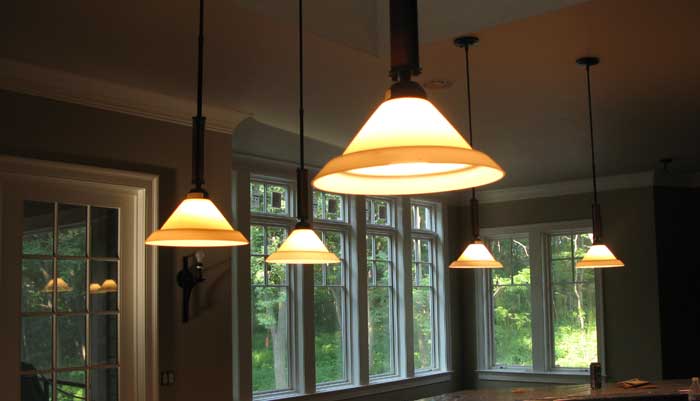
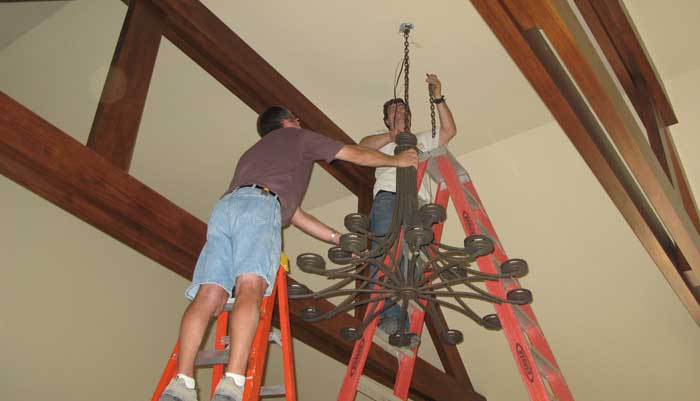
Hanging final light fixture. |
| 8-6-08 |
|
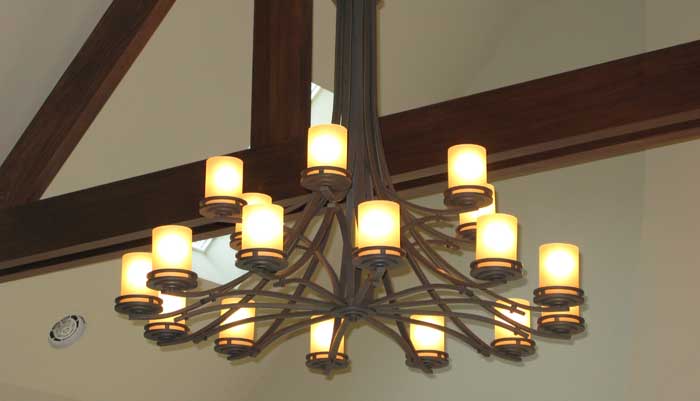
And it works! |
| 8-6-08 |
|
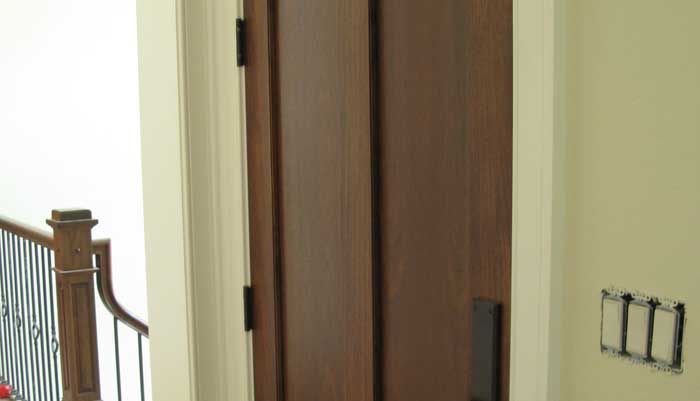
The last doors are hung. |
| 8-16-08 |
|
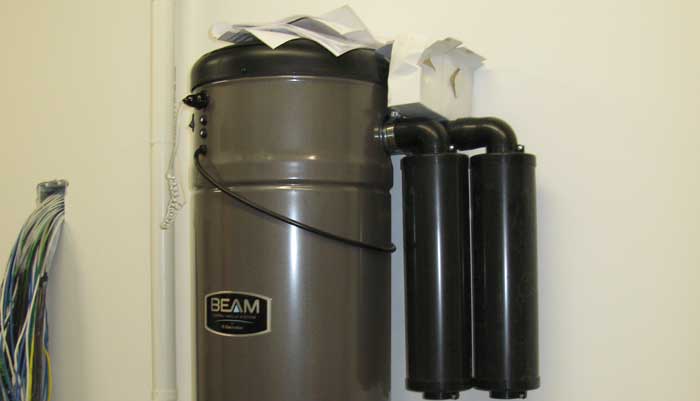
Central vac installed |
| 8-16-08 |
|
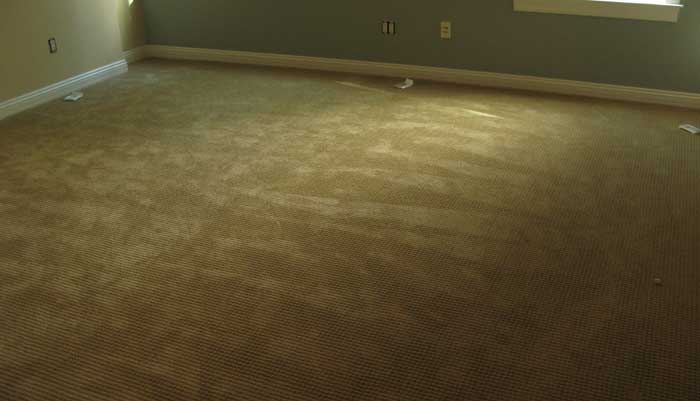
Lower level carpeting installed |
| 8-16-08 |
|
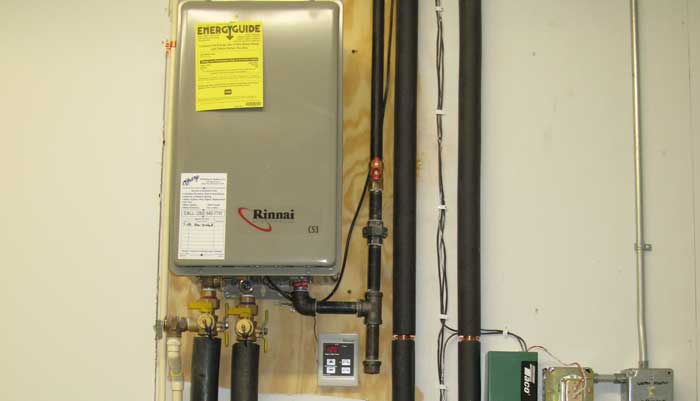
Tankless hot water heaters installed - a Green Practice. |
| 8-24-08 |
|
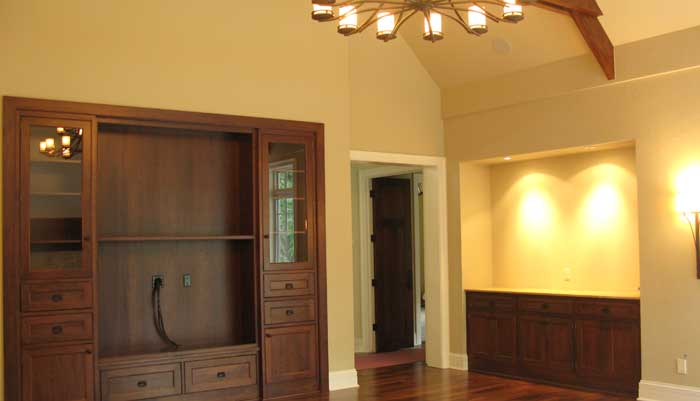
Great room completed. |
| 8-24-08 |
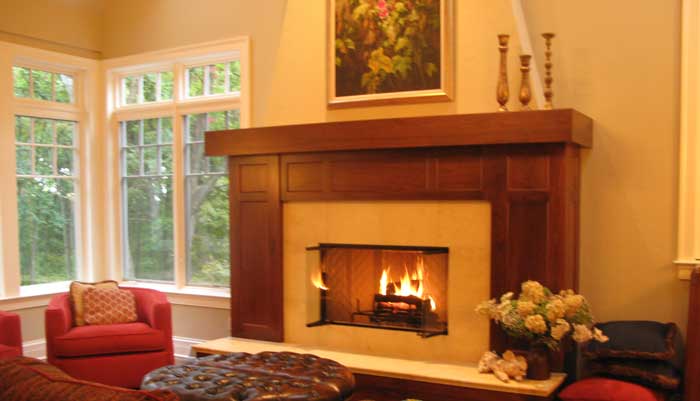
|
Great room completed. |
| 8-24-08 |
|
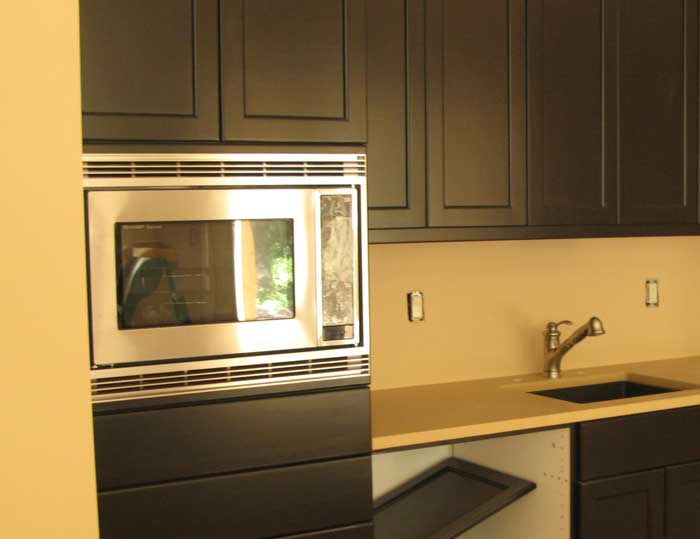
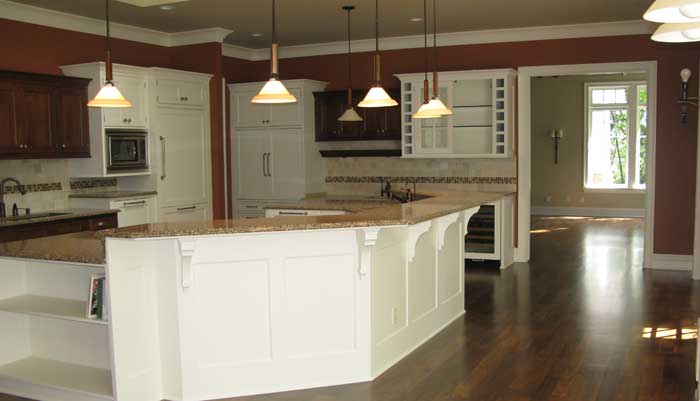
Kitchen completed. |
| 8-24-08 |

|
Kitchen completed. |
| 8-24-08 |
|
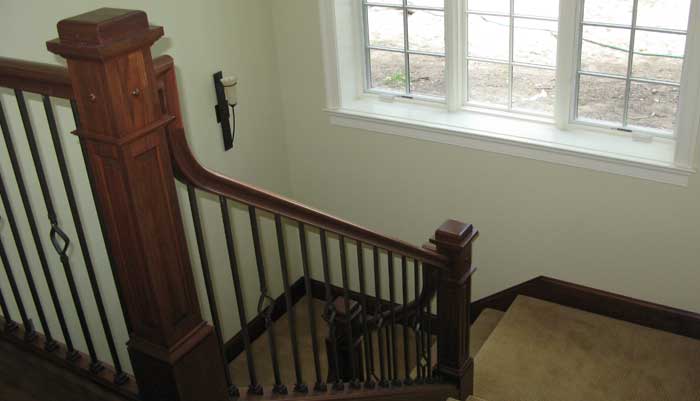
Stairway completed. |
| 8-24-08 |

|
Ready for homeowner approval. |
B and J Carpentry Services serving South Eastern Wisconsin and Northern Illinois with rough carpentry and finished carpentry.